
This blog post is different from all other posts I’ve already published. I swapped my keyboard for a soldering iron and IDE for a circuit board to build a DIY hi-fi stereo system.
Parts list
- High quality 2-way bookshelf loudspeakers
- Multimedia streaming box
- Class D digital power amplifier board
- Optical DAC (Digital Analog Converter) board
- Step down power supply board
- 3D printed housing
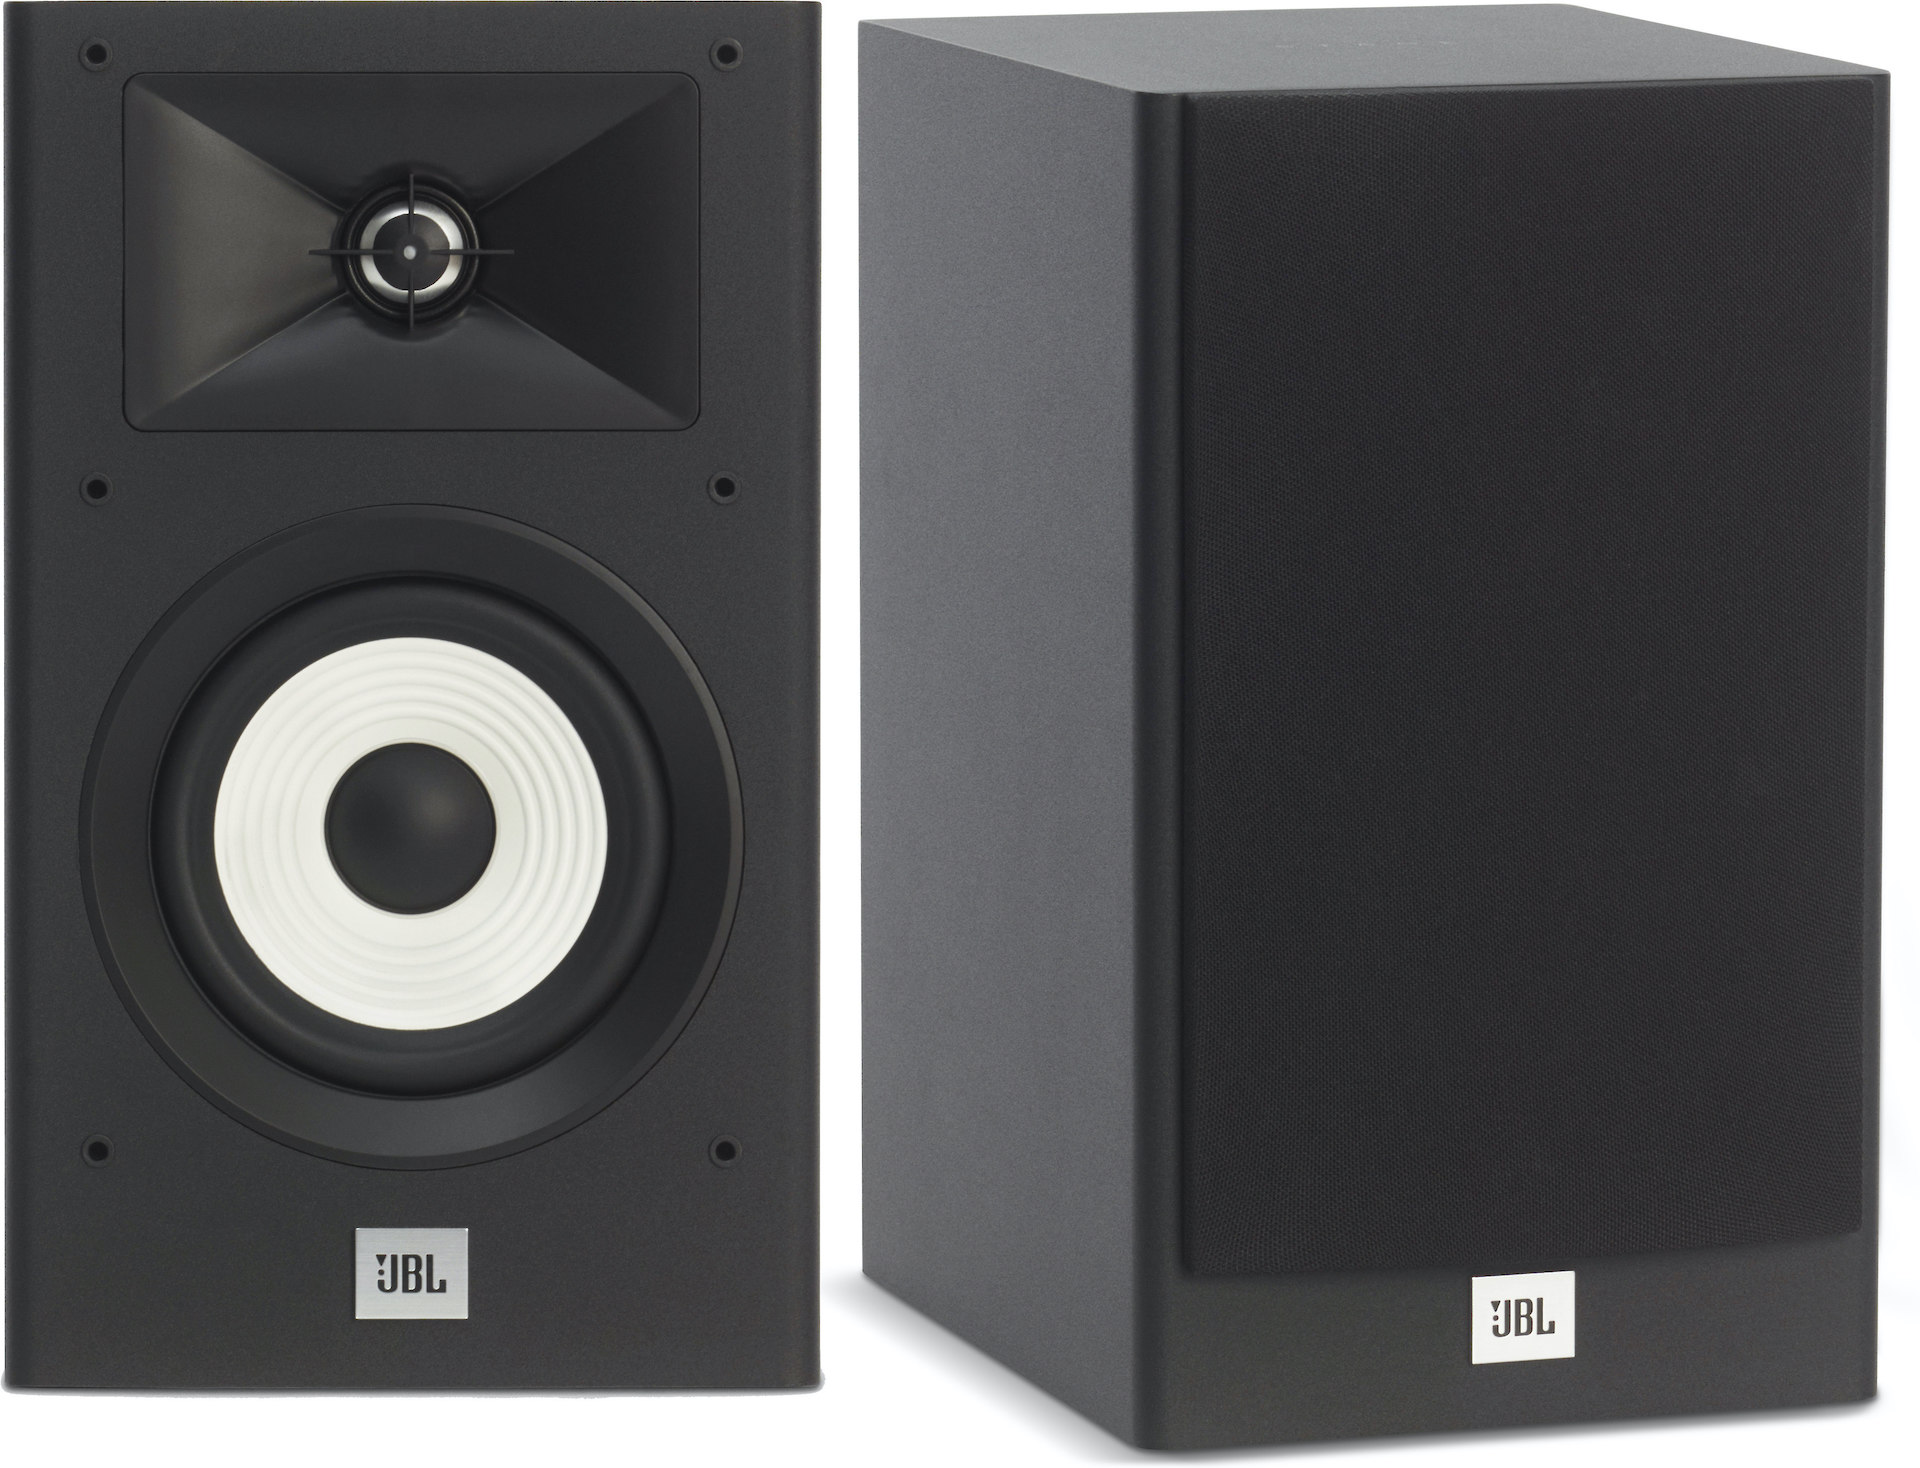
Bookshelf speakers
My requirements:
- Bookshelf speakers with modern and minimalist design
- Decent sound quality
- Sized to my living room – 35 m²
- Budget $300
Trusted expert recommended JBL Stage A130, 2 way, 5.25” woofer, 1” aluminum tweeter bookshelf loudspeakers. I visited local home audio store, listen for a while to get my own opinion and … put the box with the speakers to the car - they sound amazing 😀
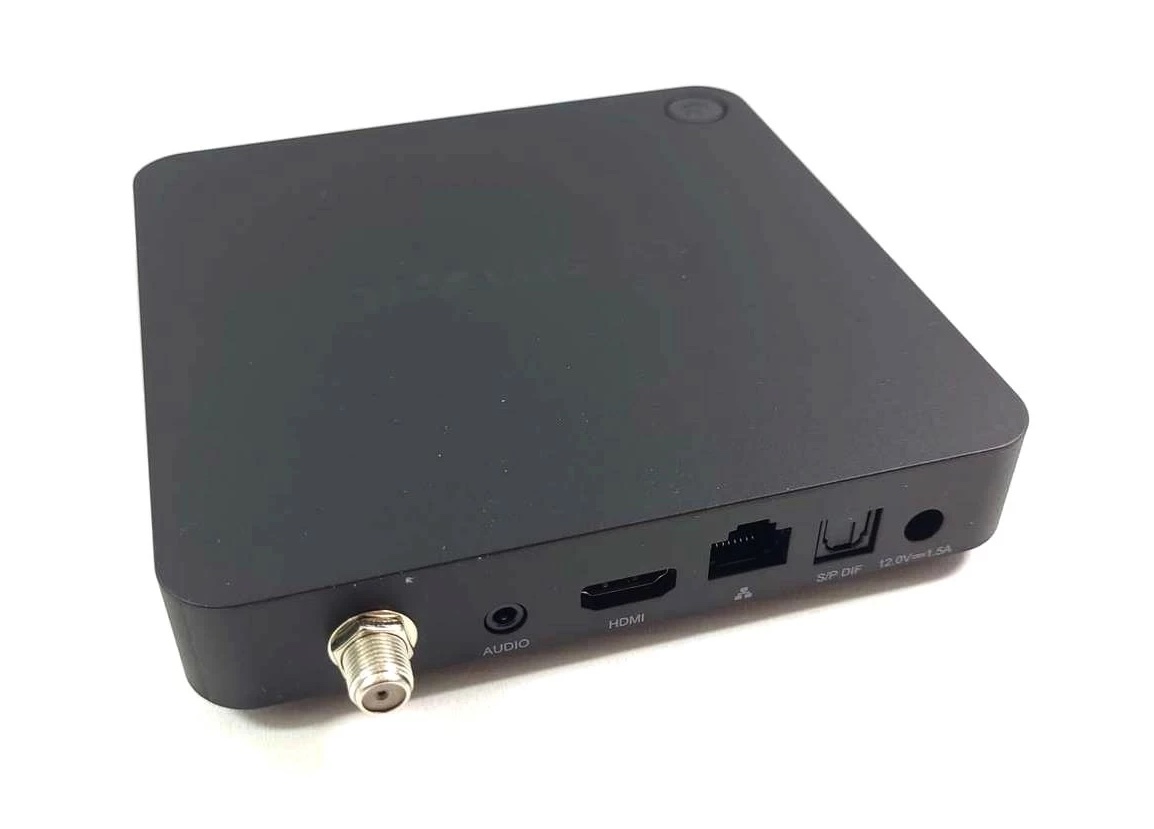
Multimedia streaming box
My requirements:
- Optical
S/PDIFoutput - Integration with Spotify Connect and other streaming platforms
- Easy to use for my family members
- Power efficient
- Budget $50
I found a used TV box with Android 11 based on the powerful Amlogic S905X4 SoC.
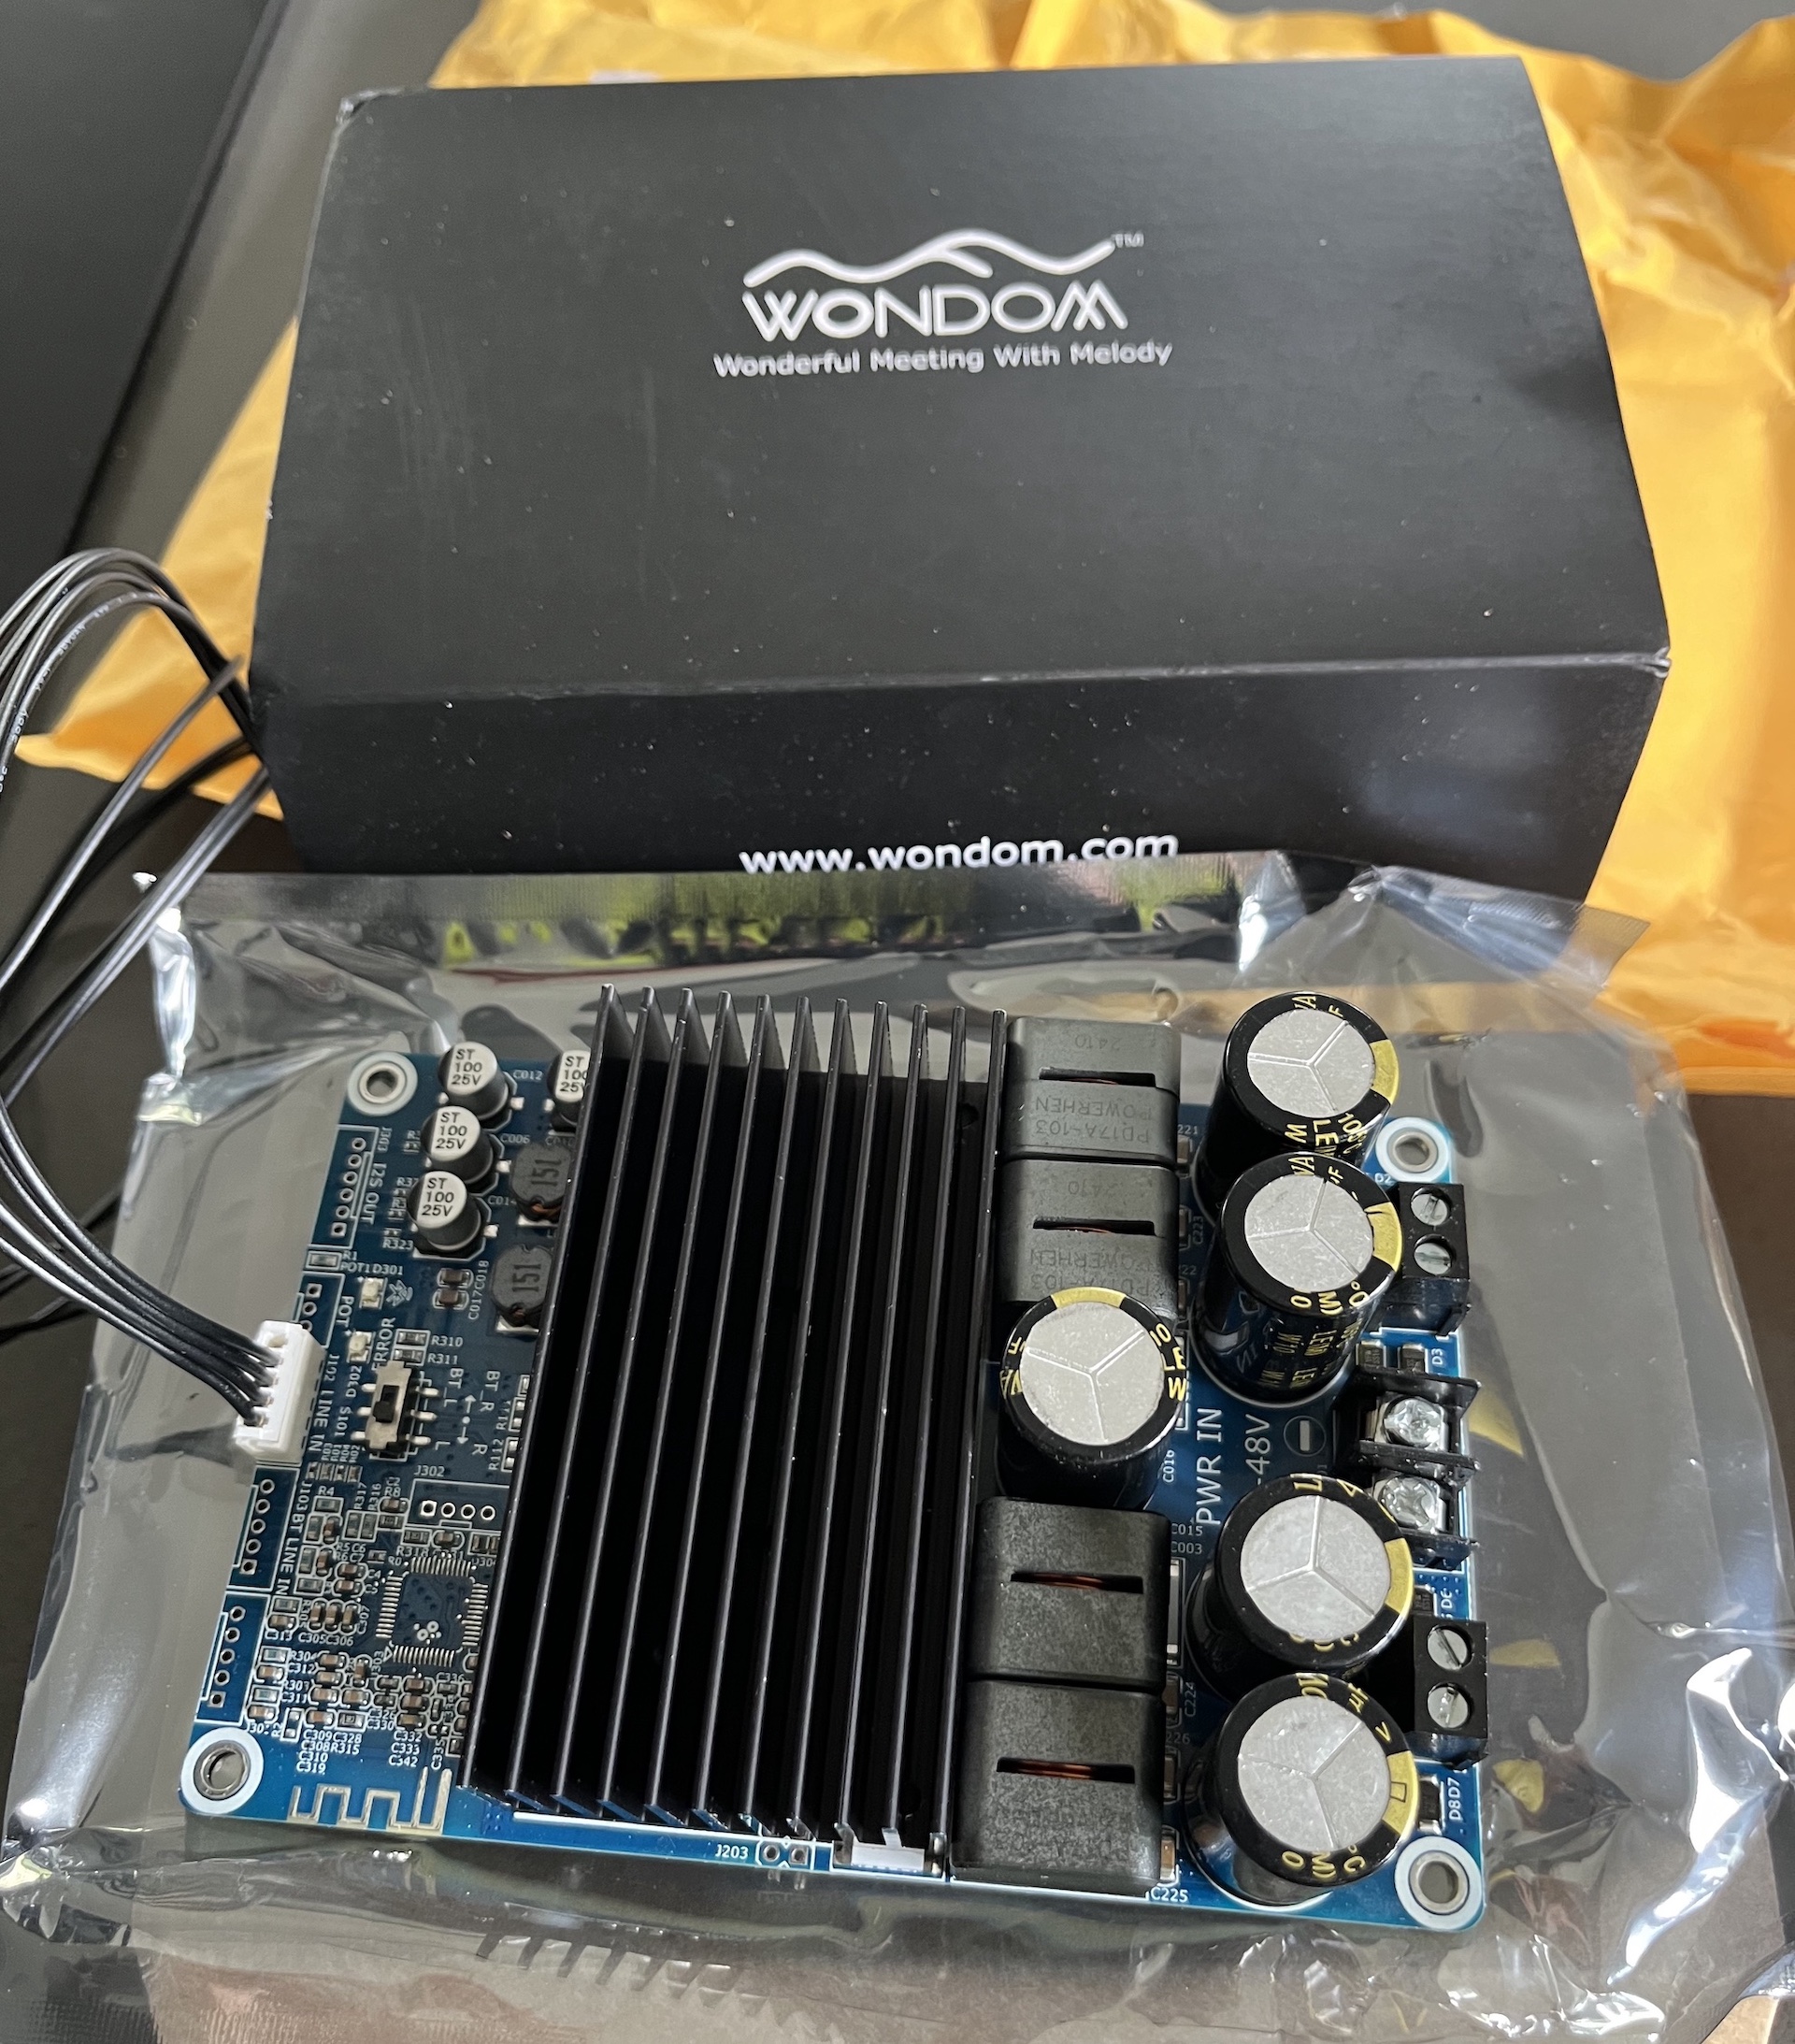
Class D digital power amplifier board
My requirements:
- Based on opinionated Class-D audio amplifier chip
- With enough power to drive JBL Stage A130 speakers
- Well made using high quality capacitors and coils
I decided for amplifier board based on TPA3255 chip from Aliexpress, model BDM8-A.
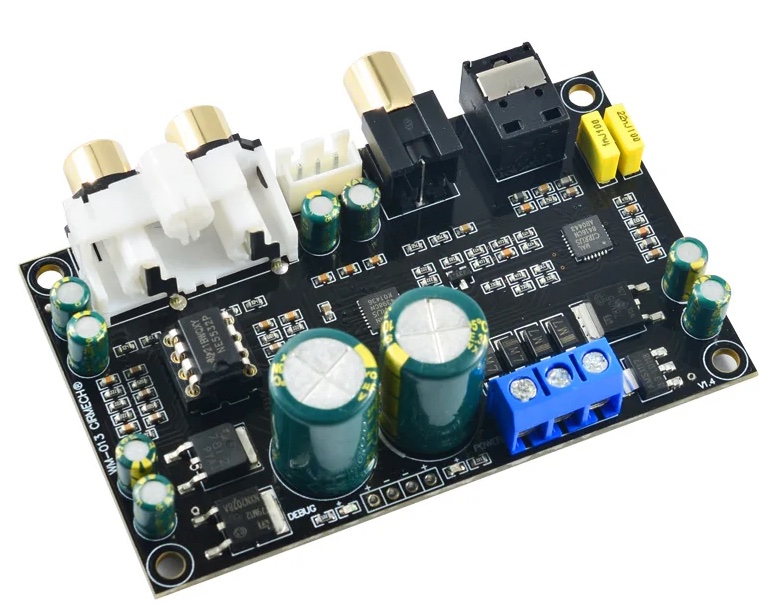
Optical DAC decoder board
My requirements:
- Based on opinionated DAC chip
- Optical
S/PDIFinput
I decided for DAC board based on CS8416 and CS4398 chips from Aliexpress with up to 24bits at 192kHz sampling.
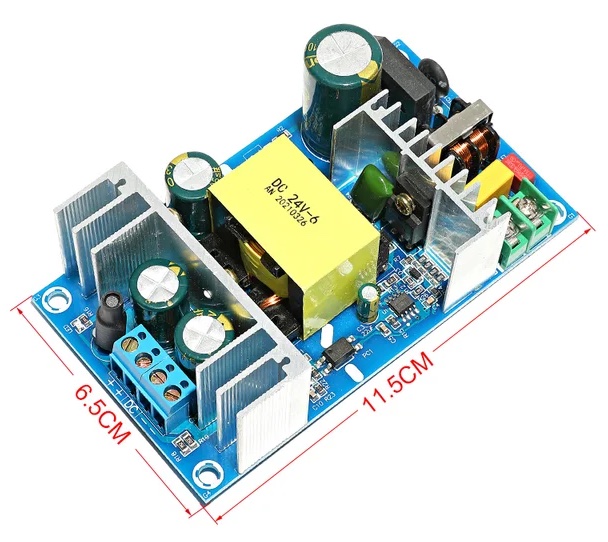
Step down power supply board
My requirements:
- With enough power to drive
TPA3255amplifier and 6Ω speakers - Power efficient
- With low noise ripple
- Small and light
Some math to estimate maximum power available with 24V DC power supply and 6Ω speakers:
- 24V DC => 24V / √2 ~= 17V AC
- 17V^2 / 6Ω = 48W
48W per channel looks fine for selected speakers and size of my living room, lets calculate current consumption:
- 17V / 6Ω = 2.83A
- 2.83A * 2 (channels) = 5.66A
I decided for power supply board from Aliexpress, version: 24V/6A.
Other parts
- Transformer 2×12V 0.08A for DAC
- Universal circuit board
- Power socket
- Circuit breakers
- Connectors and cables
- Nylon screws, nuts and spacers
- PLA filament for 3D print
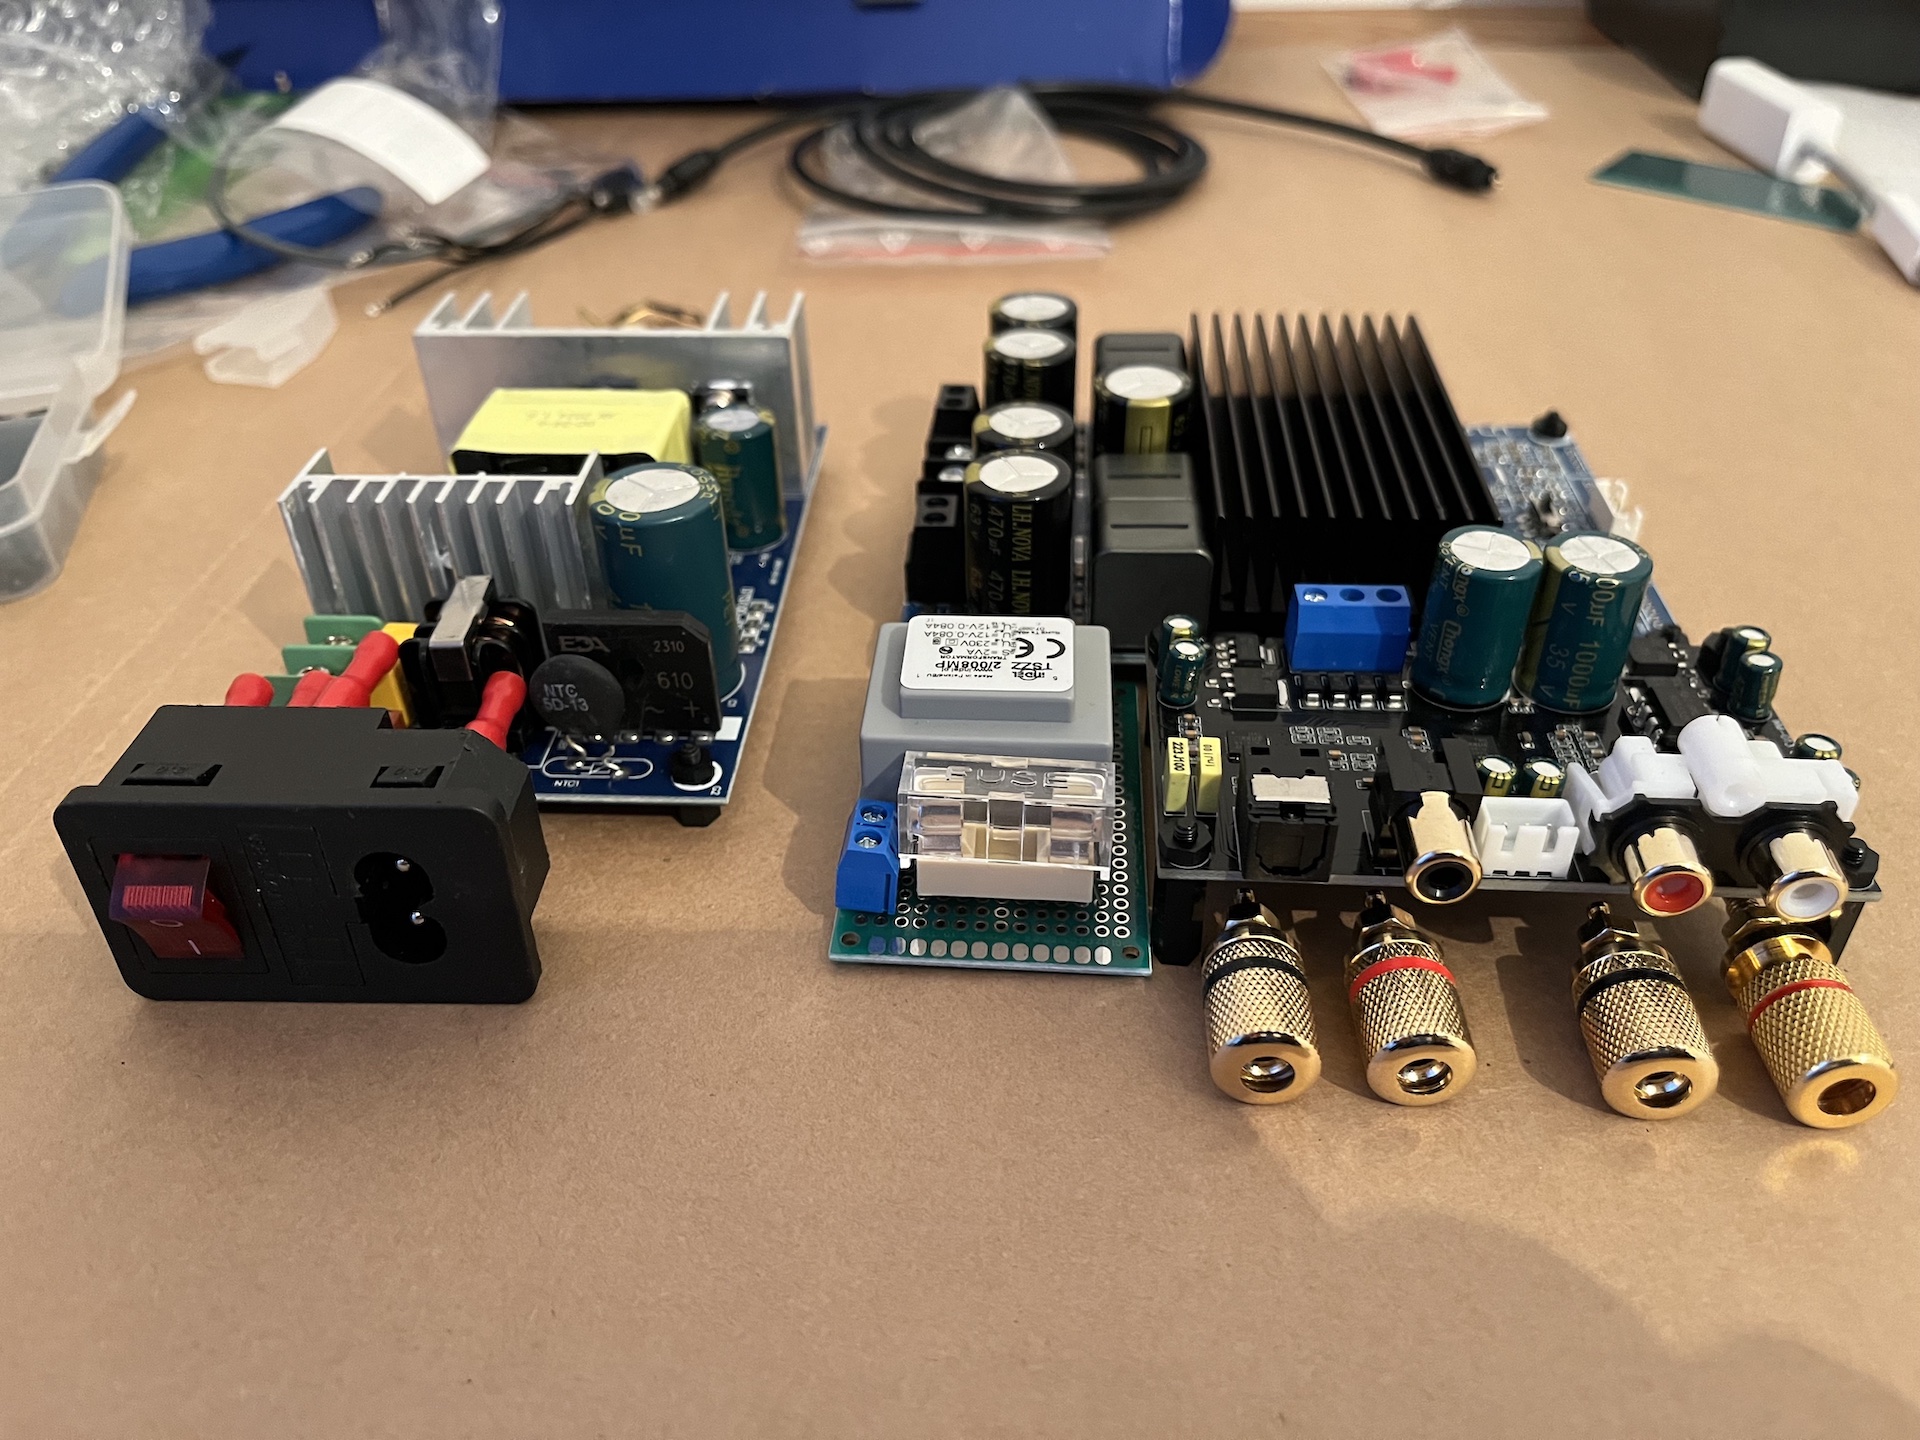
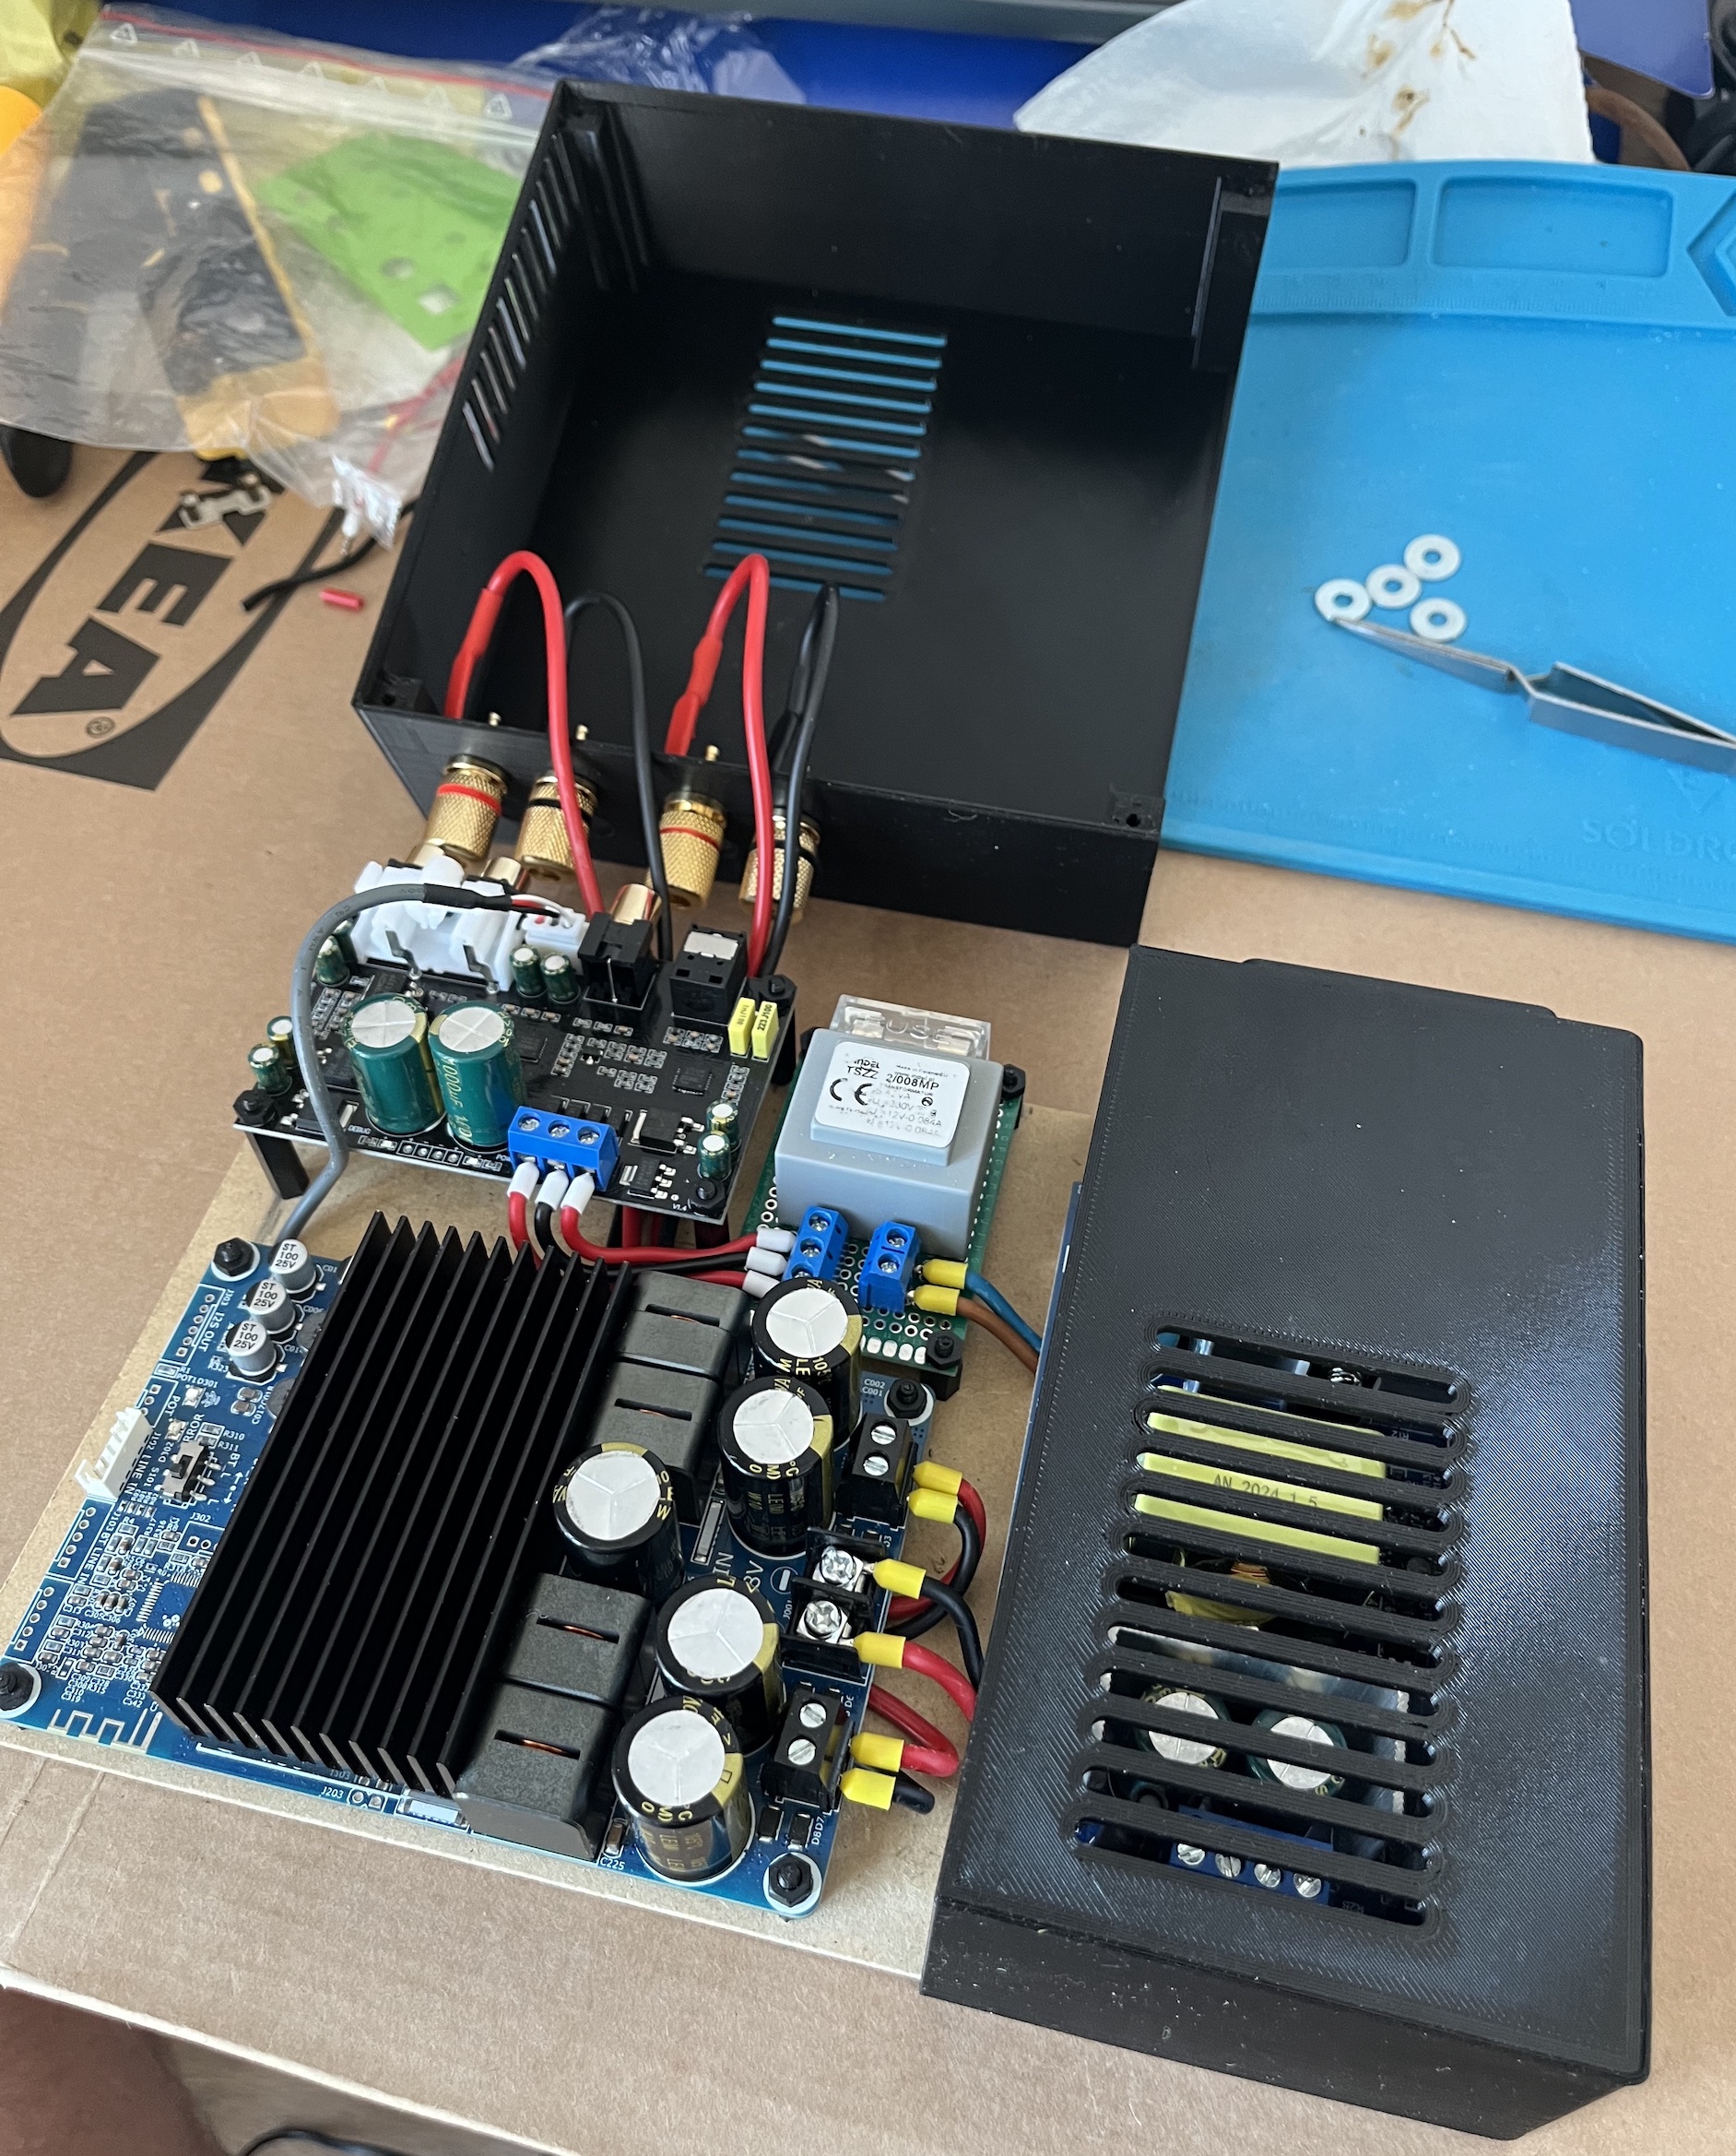
Assembly
Component layout to get low profile housing and all connectors on the back side:
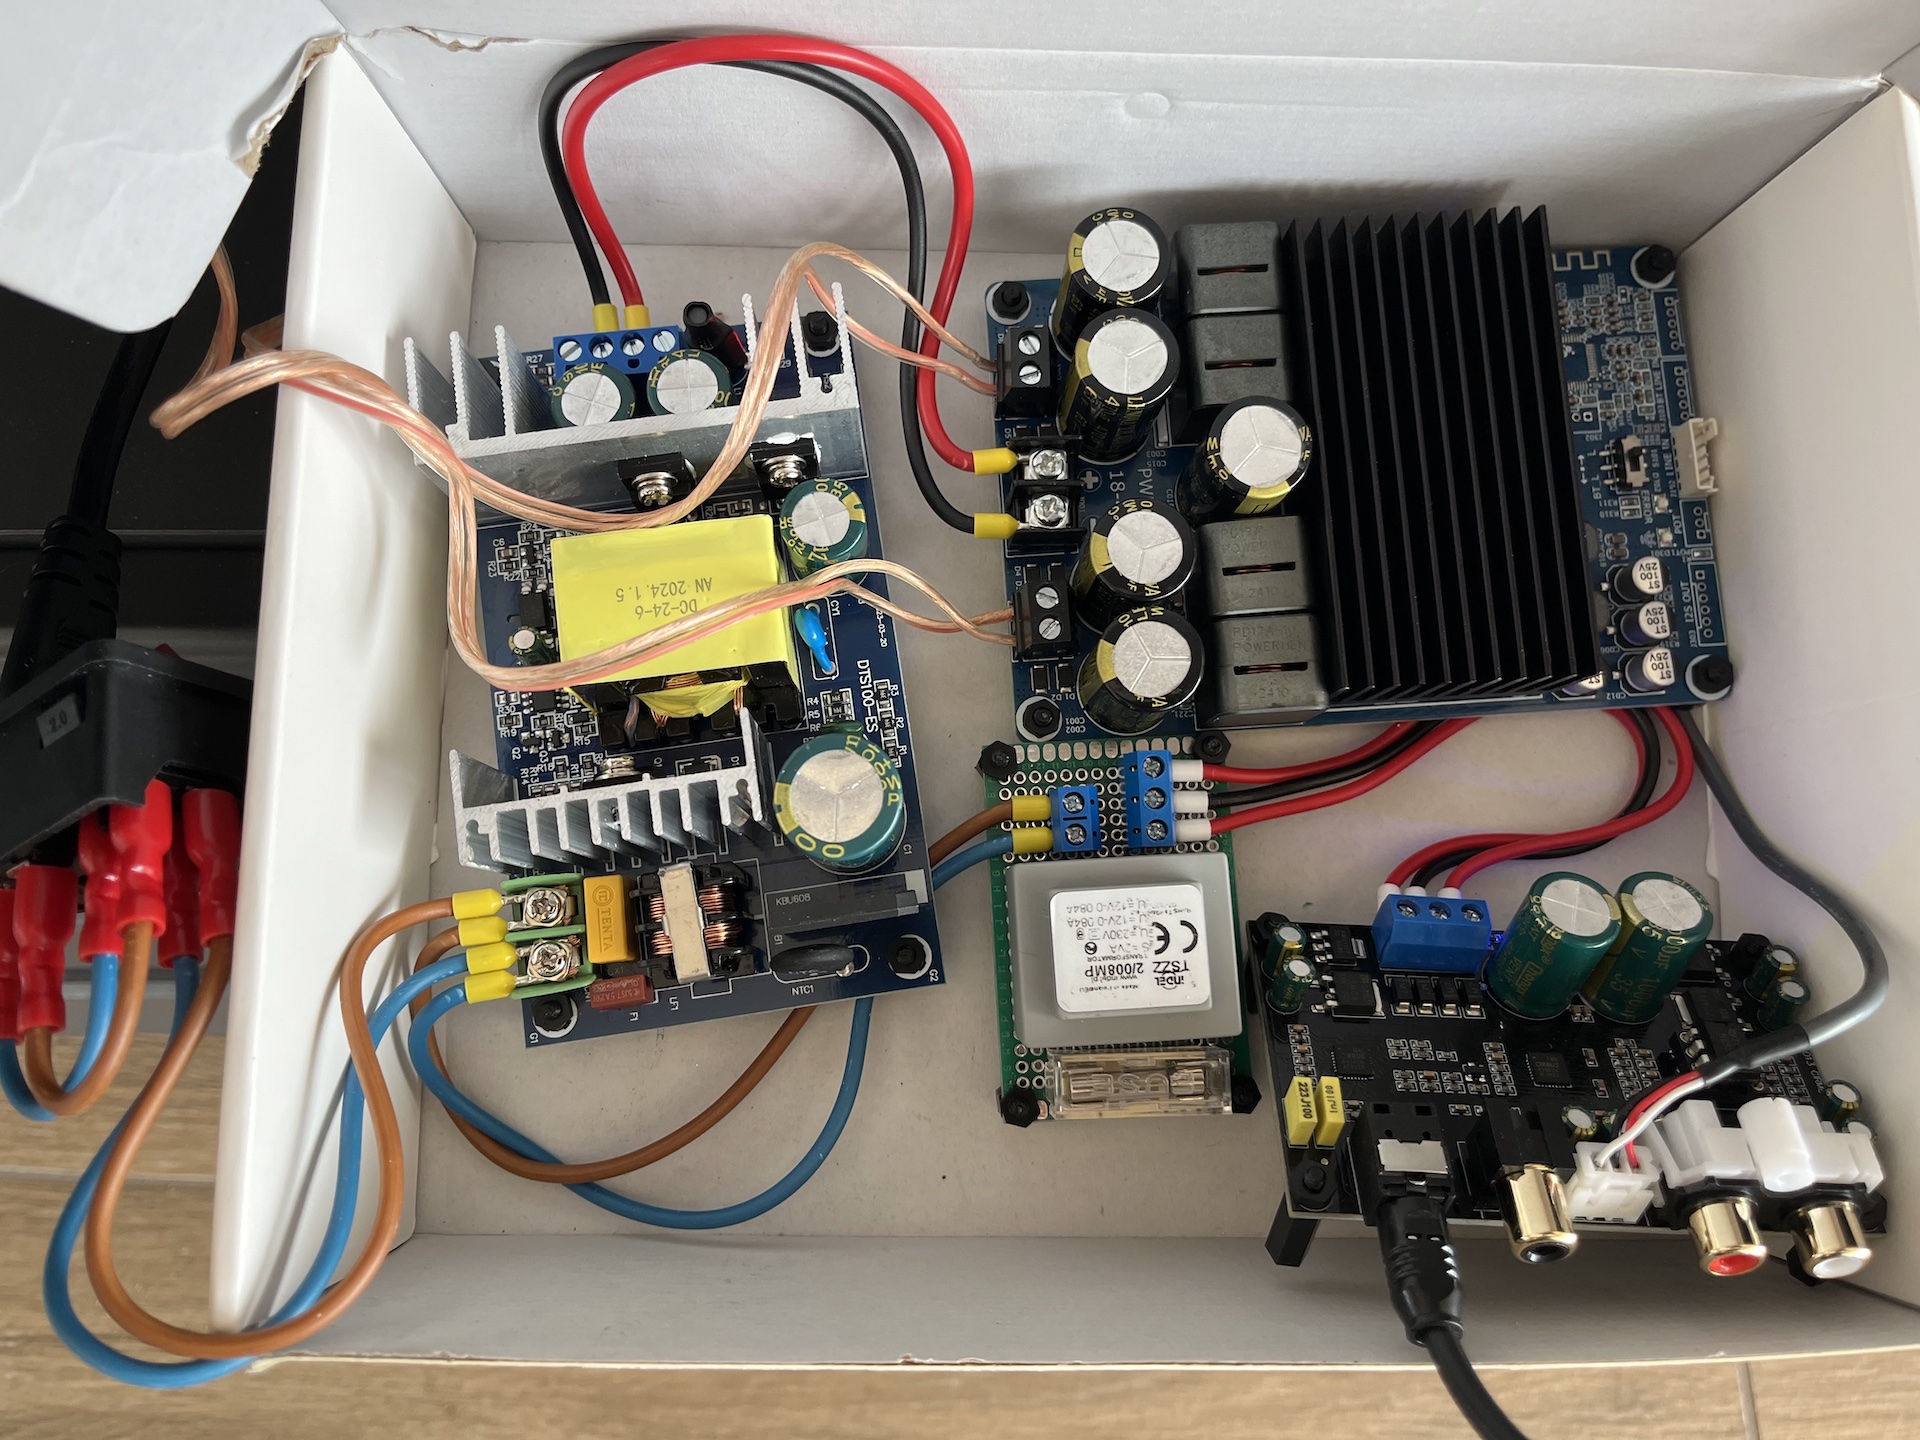
Working prototype in the cardboard box:
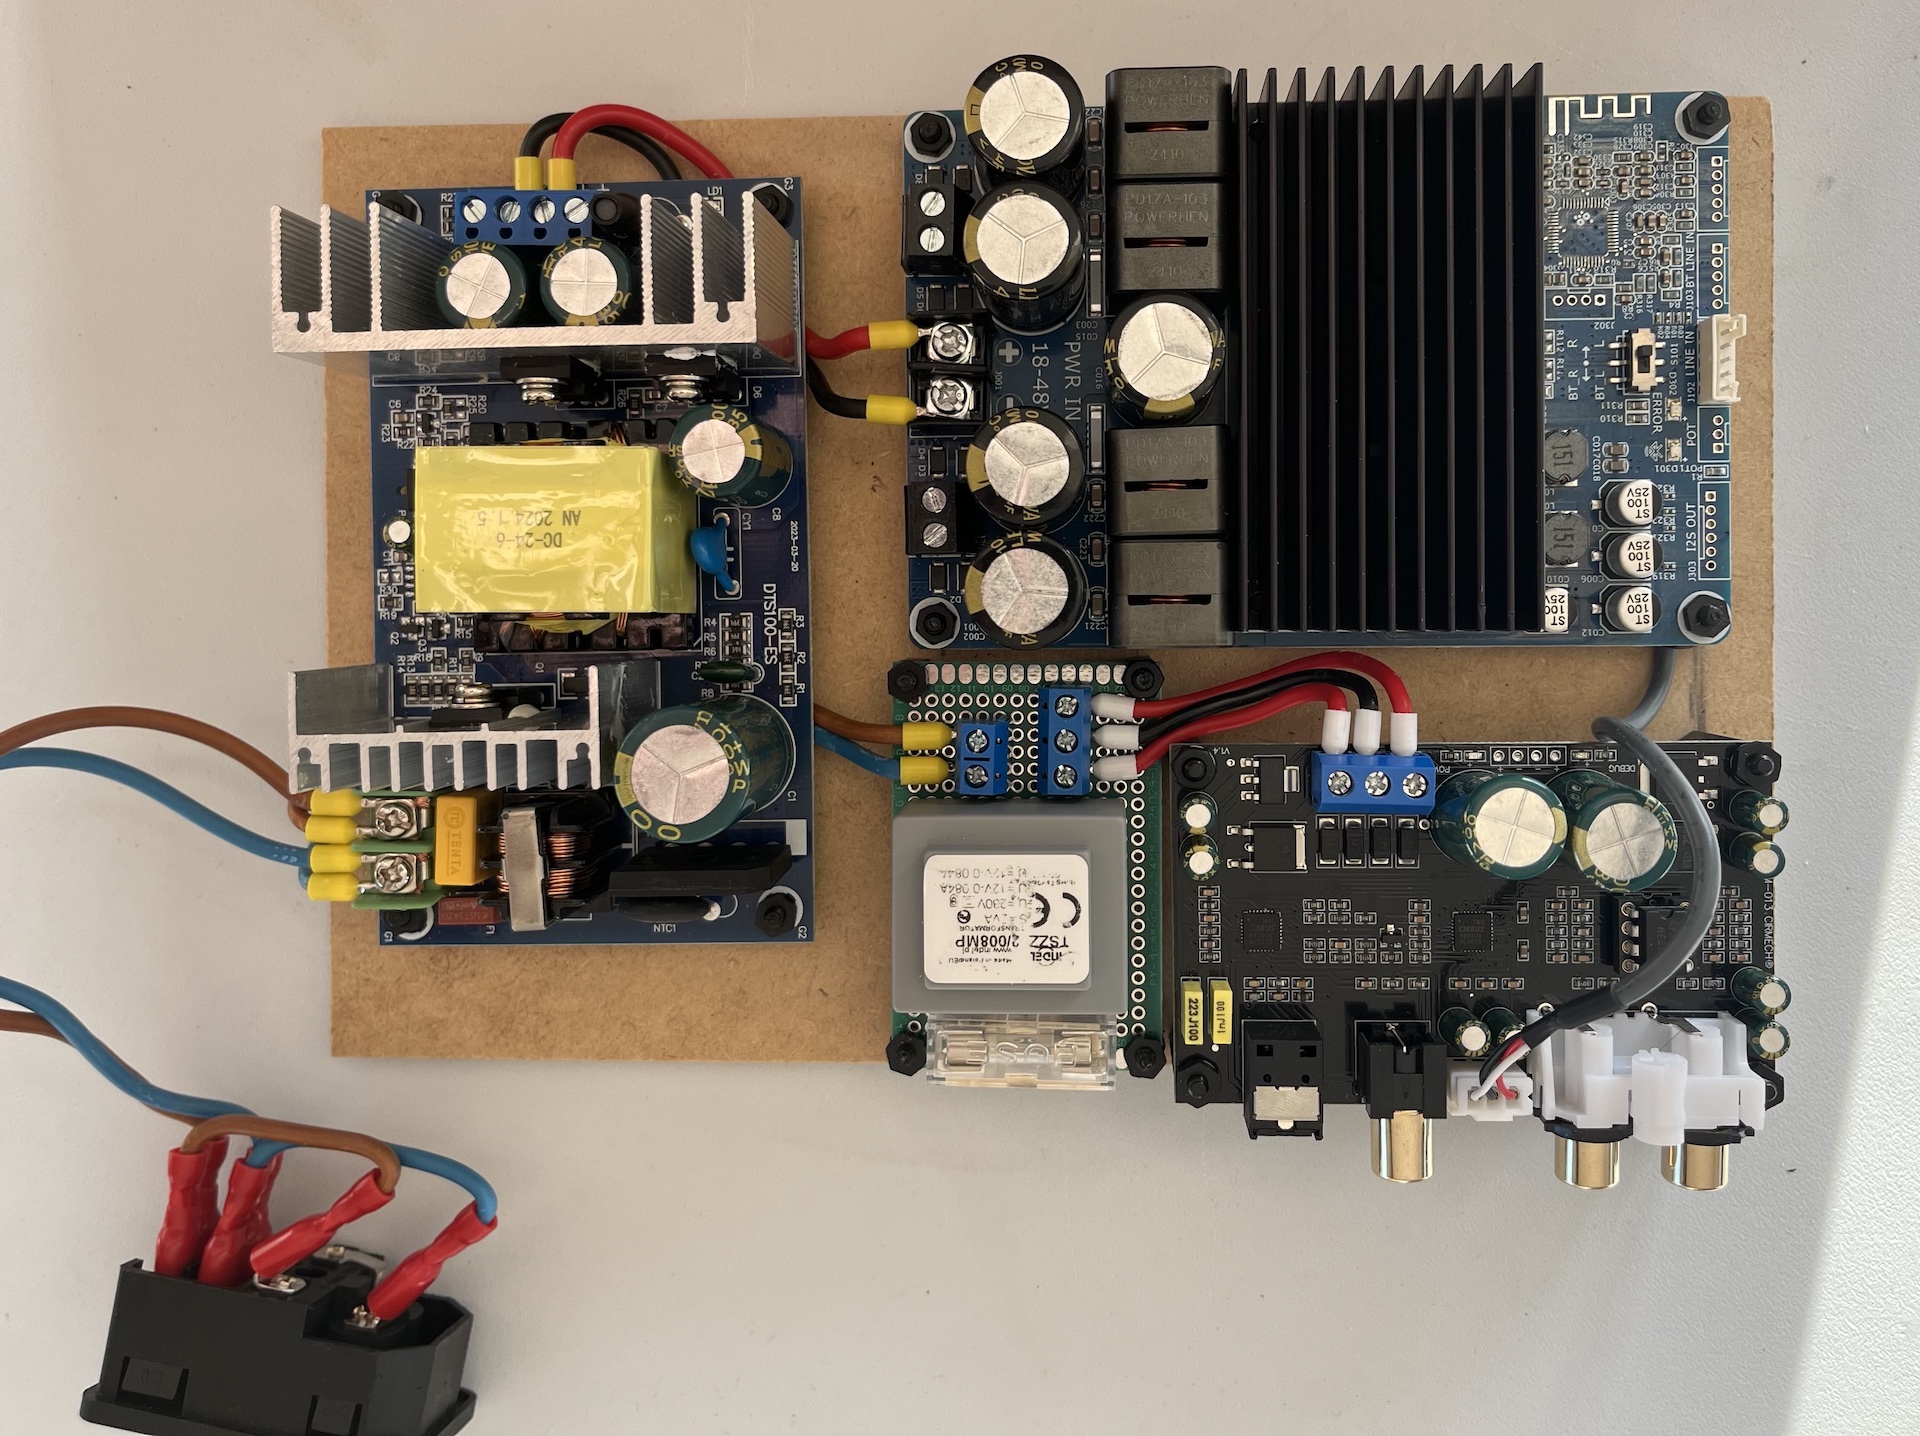
Assembly on a thin furniture board:
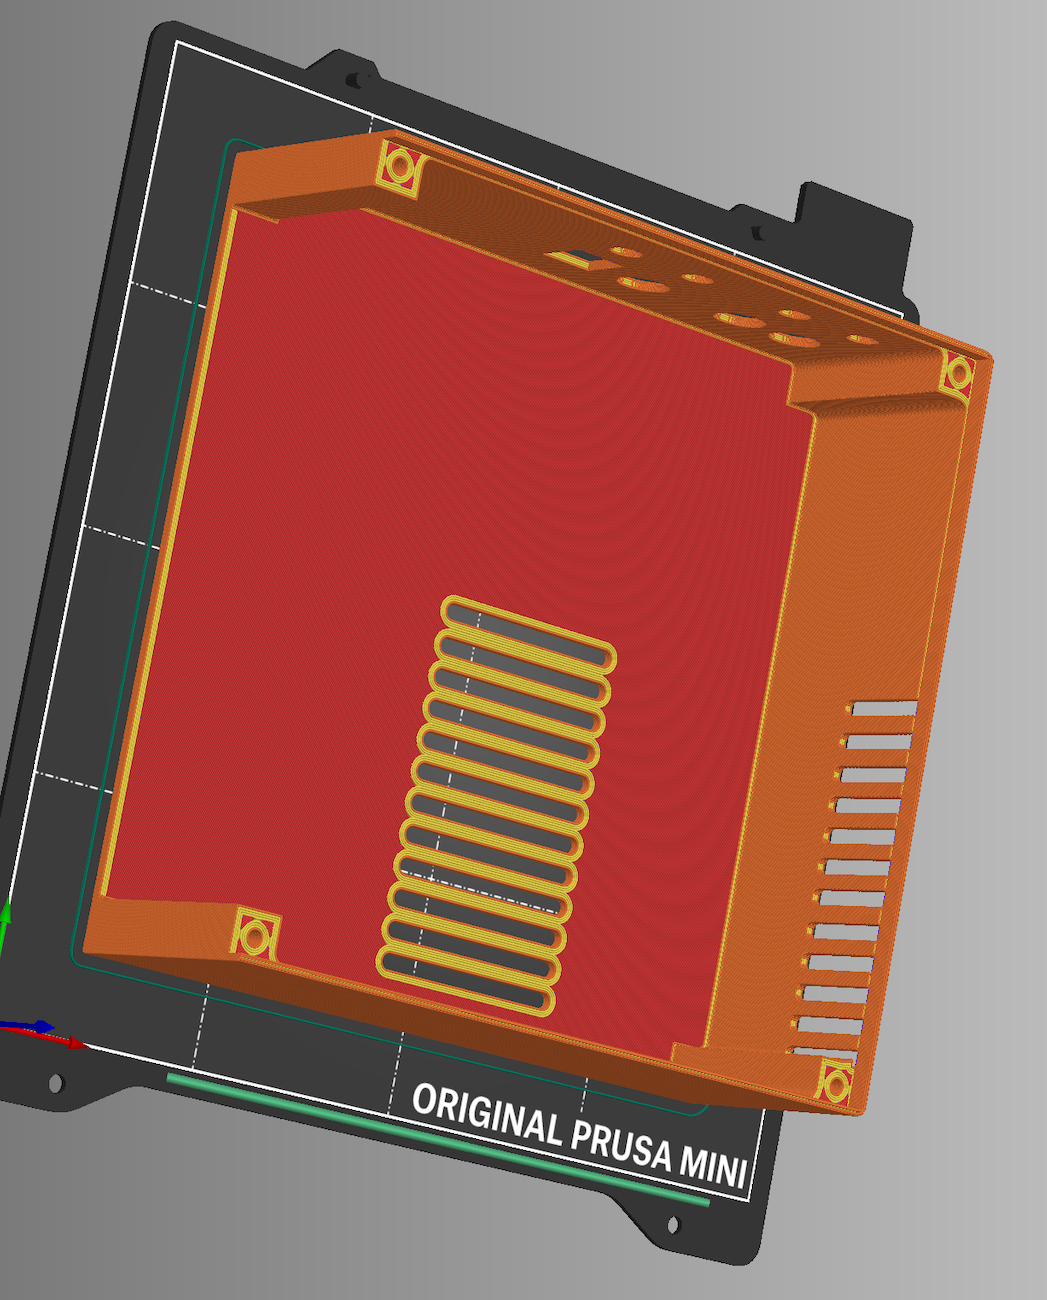
Housing
My 3D printer has a maximum print volume of 18×18×18 cm, so I printed the housing in two parts.
Left side 3D model:
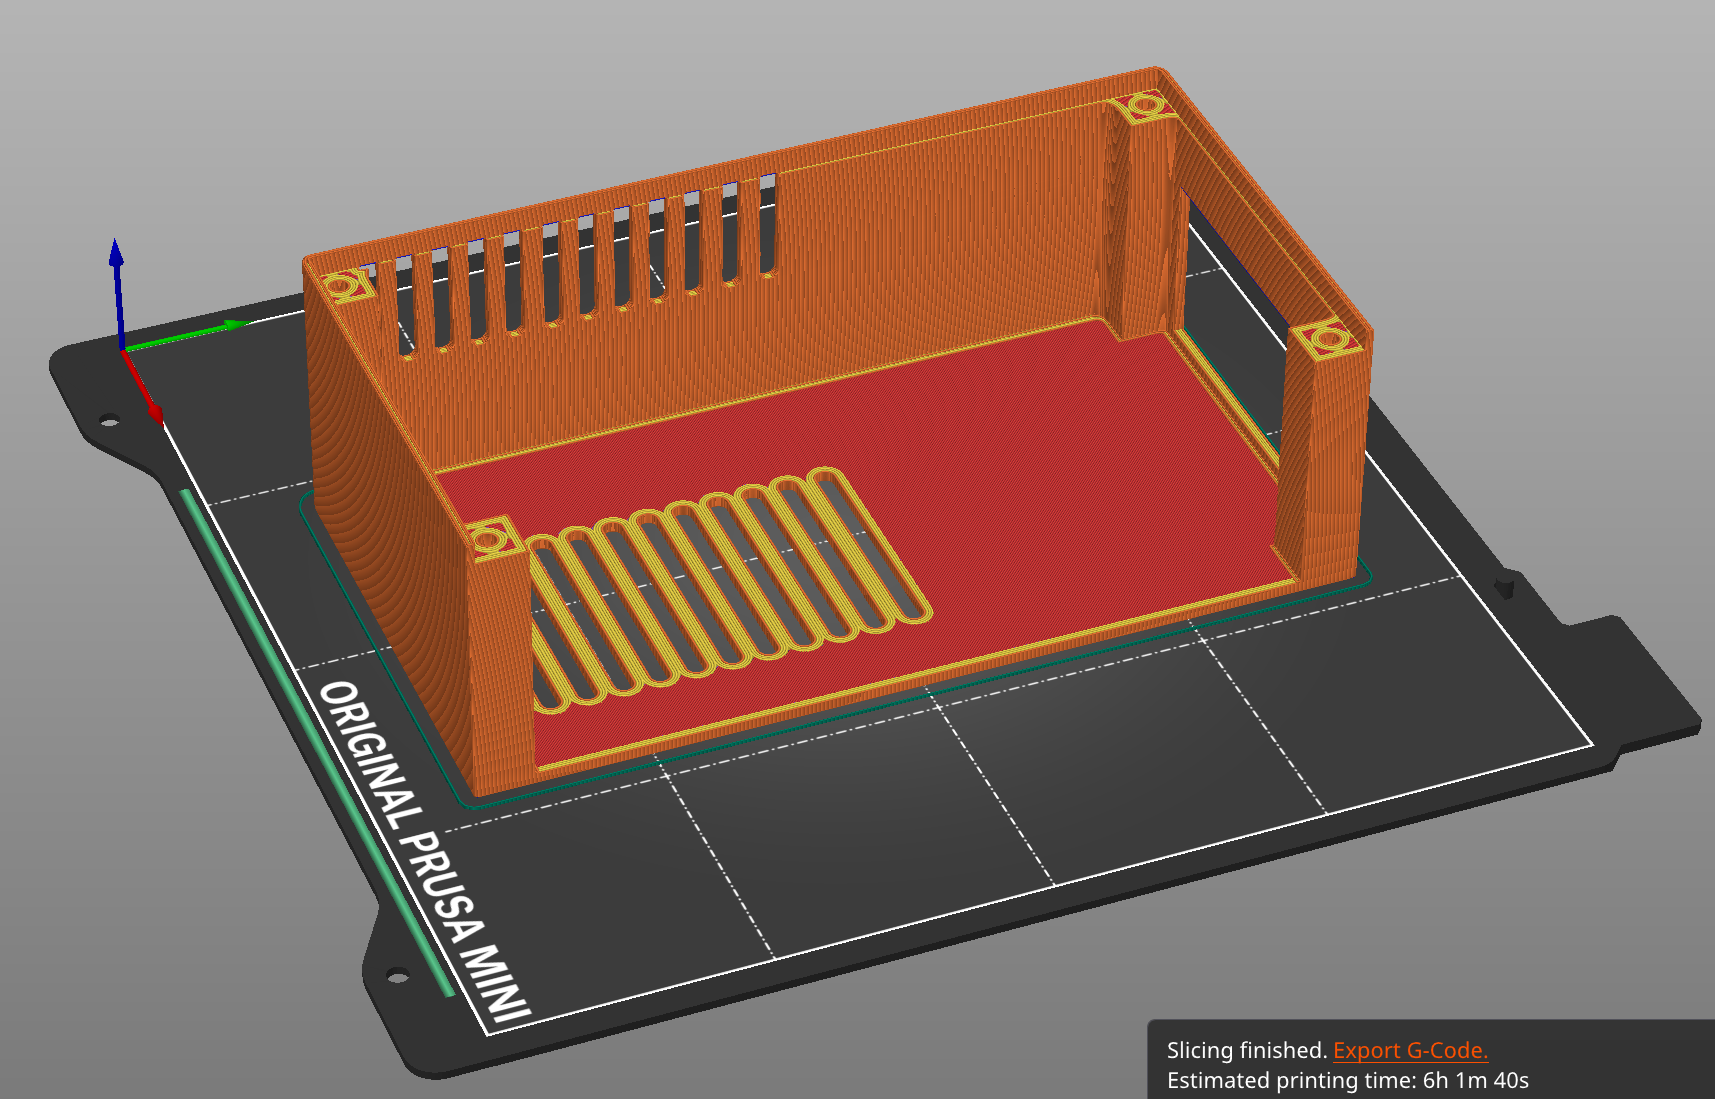
Right side 3D model:
After just 14 hours of printing, I could make the first adjustments:
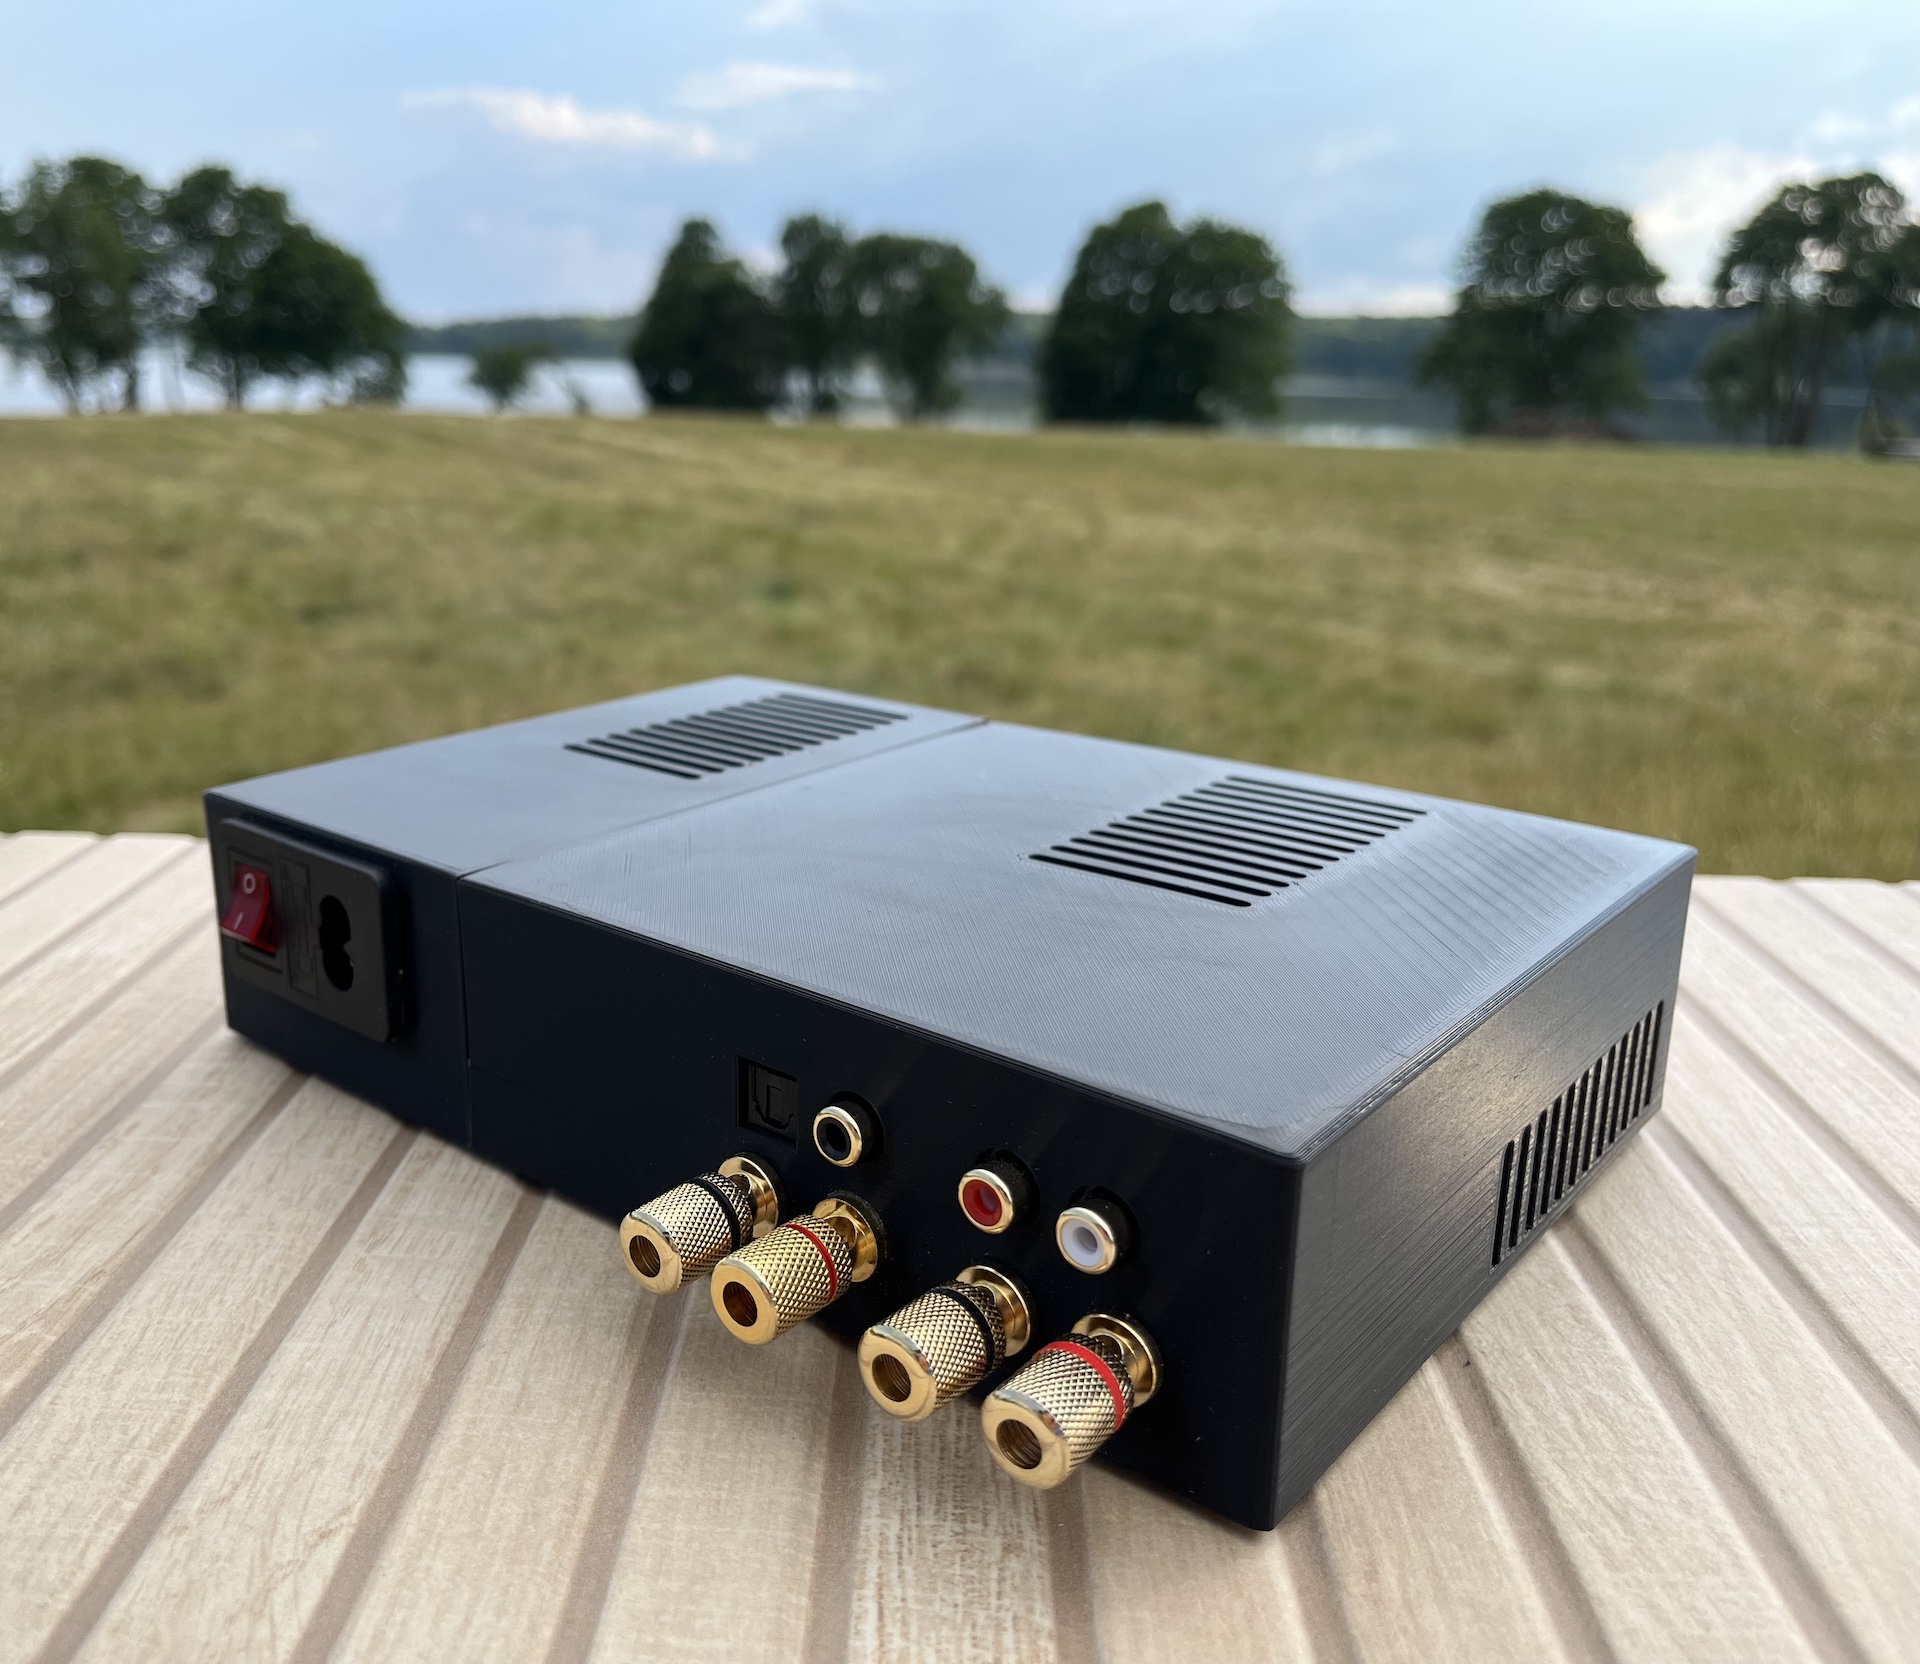
Final result
If I had to sum up why it’s worth playing DIY:
-
Educational Aspect: Constructing a multimedia stereo system from parts is an excellent way to learn about electronics, audio system design, Android TV and 3D printing.
-
Satisfaction: There’s a sense of accomplishment in creating something functional and beautiful. I was most proud that the first 3D printed housing fit like a glove.
-
Customization: When you build your own amplifier, you have complete control over the design. You can tailor it to your preferences, for example I didn’t want any hardware knobs.
-
Cost Savings: DIY amplifiers can be more affordable than commercial high-end options but you can’t count your time.
I would also like to thank Jacek for his inspiration and help.
Comments