
Yet another blog post about building something from scratch, I thought as I stood in my workshop, surrounded by tools and anticipation. A familiar companion from my earlier adventures crafting a Hi-Fi stereo amplifier or tweaking hardware for my Homelab. This time, it was different, I was diving into the world of gravel bikes. Buy a bike or build a bike, that’s the question!
Buying a gravel bike
- Convenience: Purchasing a pre-assembled gravel bike is straightforward. You can walk into a bike shop, choose a model, and ride it home.
- Cost-Efficiency: Buying an assembled bike typically offers better value in terms of components and quality. Especially if you’re considering a previous year model, pre-built options are often more affordable.
Building a gravel bike
- Customization: On the other side, building your bike allows complete customization. You choose every part, from frame material to groupset and wheels.
- Learning Experience: Assembling a bike enhances your understanding of its mechanics. It’s a rewarding process for DIY enthusiasts like me.
- Bond with Your Bike: When you build a bike, you develop a personal connection. Each bolt tightened becomes a part of your story.
Initial requirements
The gravel bike would be my fourth addition to my bike fleet, complementing the existing lineup: an Orbea Avant road bike, a Scott Spark MTB bike, and a Jamis Coda city bike. My vision for the new gravel bike is as sharp as a freshly honed spoke.
Must have:
- I’m looking for geometry that aligns with my body. Specifically, a reach between 380 and 390 mm, and a stack height of at least 570 mm but no more than 590 mm. Typically, this corresponds to a size M or 54’’ frame.
- While beauty is subjective, I couldn’t accept a matte finish on a bike designed for off-road riding. I wanted glossy painting.
- High-quality alloy frames come with a lifetime guarantee, striking a balance between performance and affordability. While carbon frames offer advantages for road bikes and full-suspension mountain bikes (MTBs), they may not be as beneficial for gravel bikes.
- Shimano GRX. It doesn’t make any sense to have a single bike with SRAM if all seven of my family’s bikes use Shimano groupsets.
- Mechanical 1×12 drivetrain. I don’t accept a front derailleur in anything other than a road bike equipped with Di2. For a gravel bike, I don’t want an electrical groupset to avoid costly replacement of broken derailleurs.
Should have:
- External headset cable routing. I service all my bikes myself and appreciate simplicity. I don’t accept overly complex technical solutions.
- BSA threaded support. Problems with a pressfit in my Scott Spark are enough.
- Standard 27.2 mm seatpost instead of custom aerodynamic shape. I appreciate the availability of typical components.
Nice to have:
- Generous tire clearance for widths beyond 45C. While I already own a Scott Spark MTB for challenging terrain, I value the versatility of having ample tire options.
As expected, I couldn’t find any gravel bike on the market that meets my requirements. So, I have no choice but to build the bike myself 😀
Cannondale frame donor
Because it was nearly impossible to find a frameset, I decided to buy the complete bike Cannondale Topstone 3, size M and grey color. This bike will serve as the frame donor for my gravel bike project.
Shimano GRX groupset
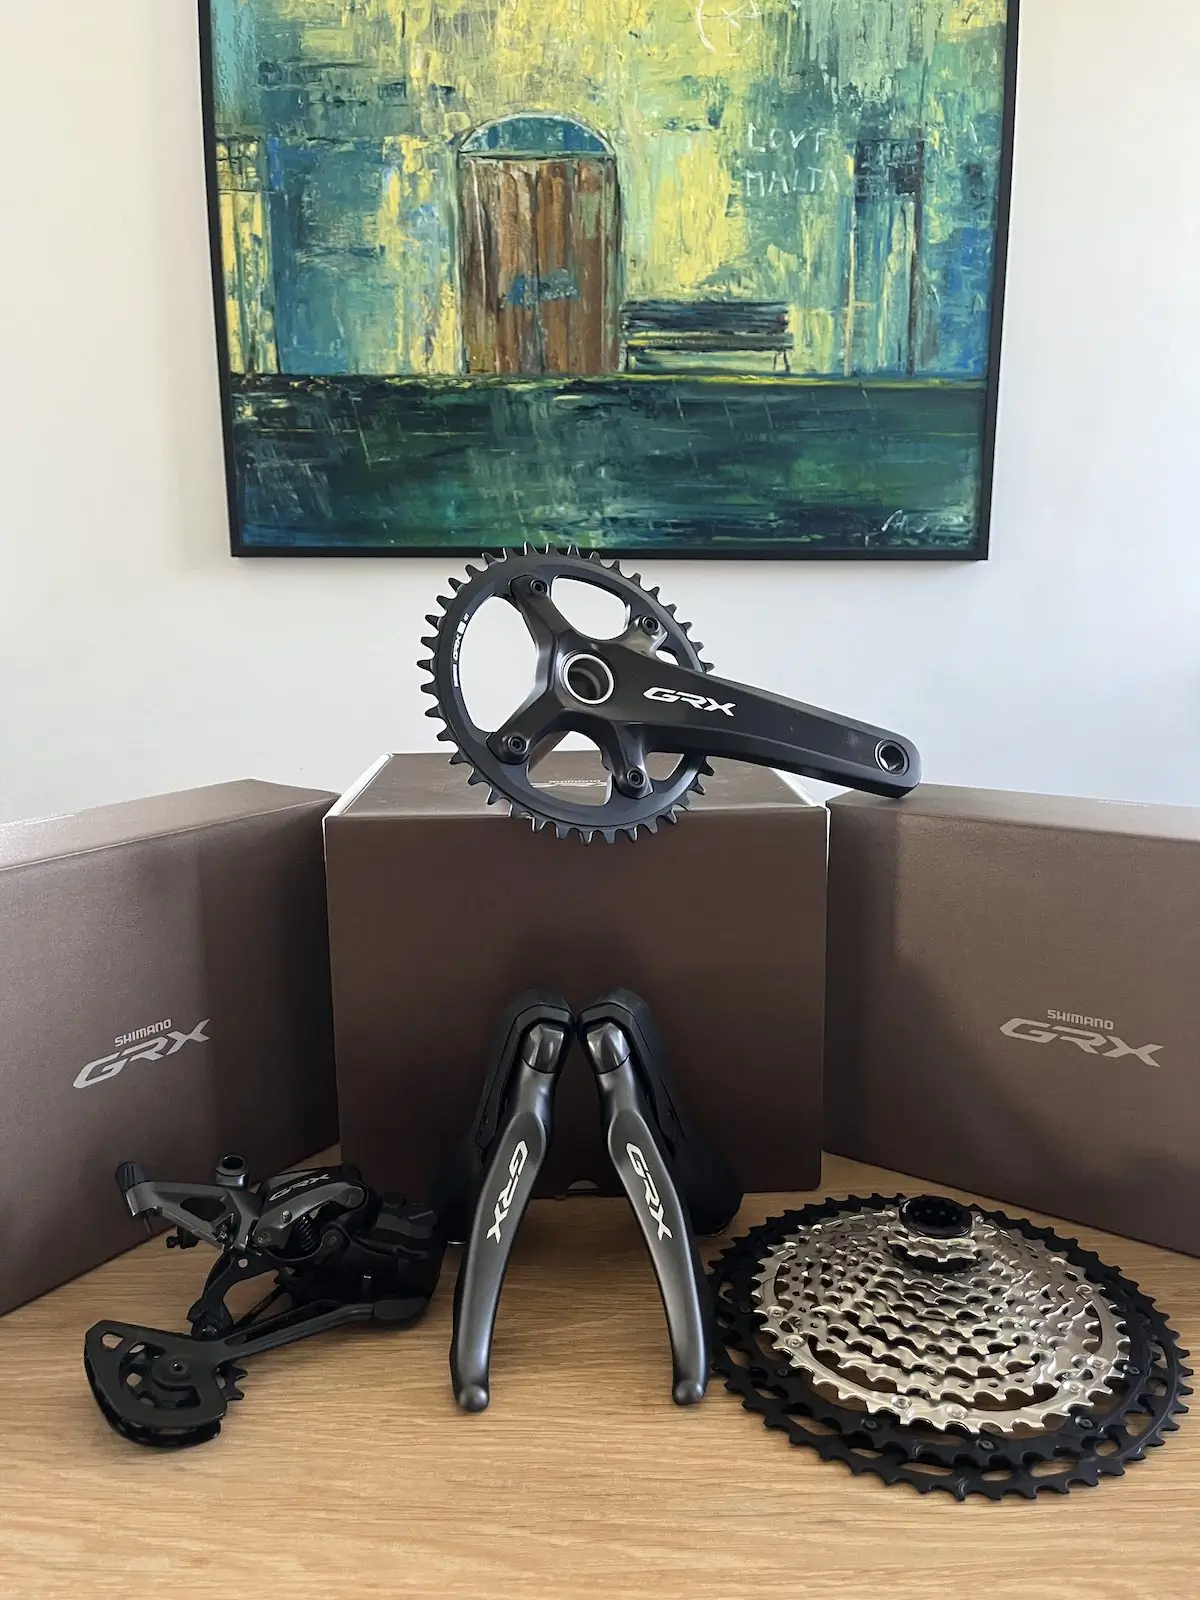
The next buy was an almost complete Shimano GRX 820 groupset, a significant investment reflecting the quality and performance of the components:
ST-RX820-R– hydraulic disc brake dual control lever 12 speedBL-RX820-L– hydraulic disc brake leverBR-RX820– hydraulic disc brake calipersSM-RT800– disc brake rotors, which I already hadFC-RX820-1– gravel crankset with 40T chain ringRD-RX822-SGS– rear derailleur 12 speedCS-M8100-12– 12 speed MTB cassette sprocketCN-M8100– 12 speed MTB chainSM-BBR60– threaded bottom bracket
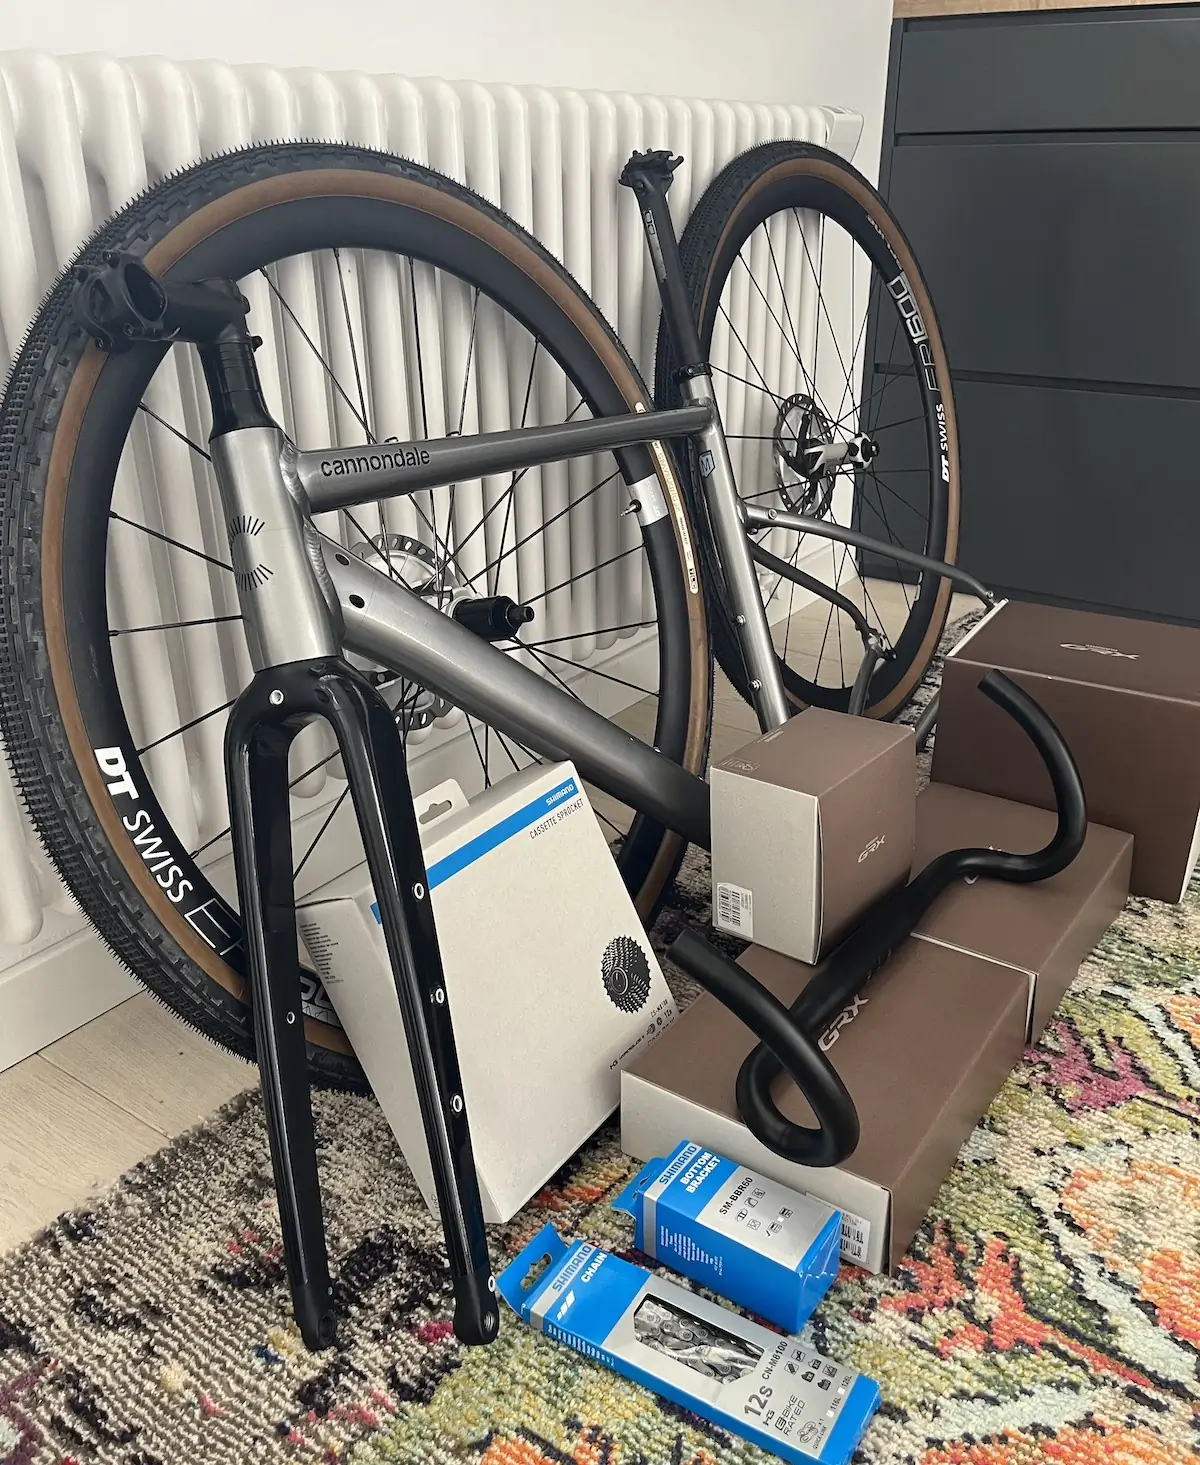
Other components
To start bike assembly I needed a few more components:
- DT Swiss ER 1600 wheels with 350 hubs and straight pull spokes upgraded with a Microspline road freehub ratchet
- Panaracer GravelKing SK 43C tubeless tires
- PRO Discover medium flare handlebar
- Original stem, and handlebar tape from the Cannondale Topstone
- Handlebar gel pads for extra cushioning and reduced fatigue on long rides
- Shimano PD-540 pedals
- FSA carbon seat post, which I already had
- Fizik Antares saddle compatible with my ass
- Elite bottle cages
- Camelbak Podium bottles
- Lezyne HV Drive pump
- Garmin mount
- Oracal Oraguard 280 film to keep the frame their pristine condition
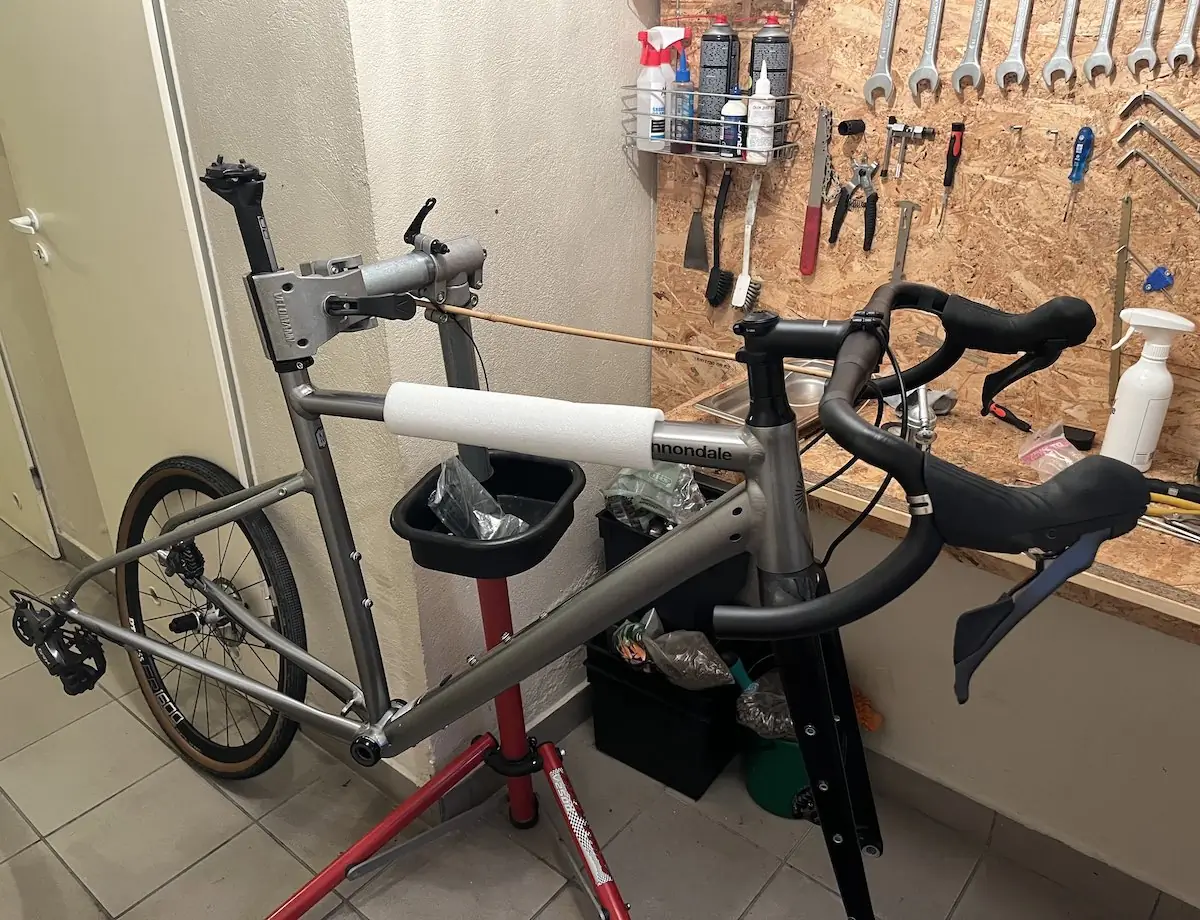
Assembly
After acquiring all the essential components, I eagerly embarked on the bike assembly phase in my workshop. However, upon reflection, I realized that describing the entire process, from frame protection to brake bleeding and bottle cage mounting, would be redundant. There are many YouTube tutorials available that comprehensively cover these steps. Replicating the information here would serve little purpose. If you require any specific guidance or have any questions regarding the assembly process, I would be more than happy to assist you. Just let me know!
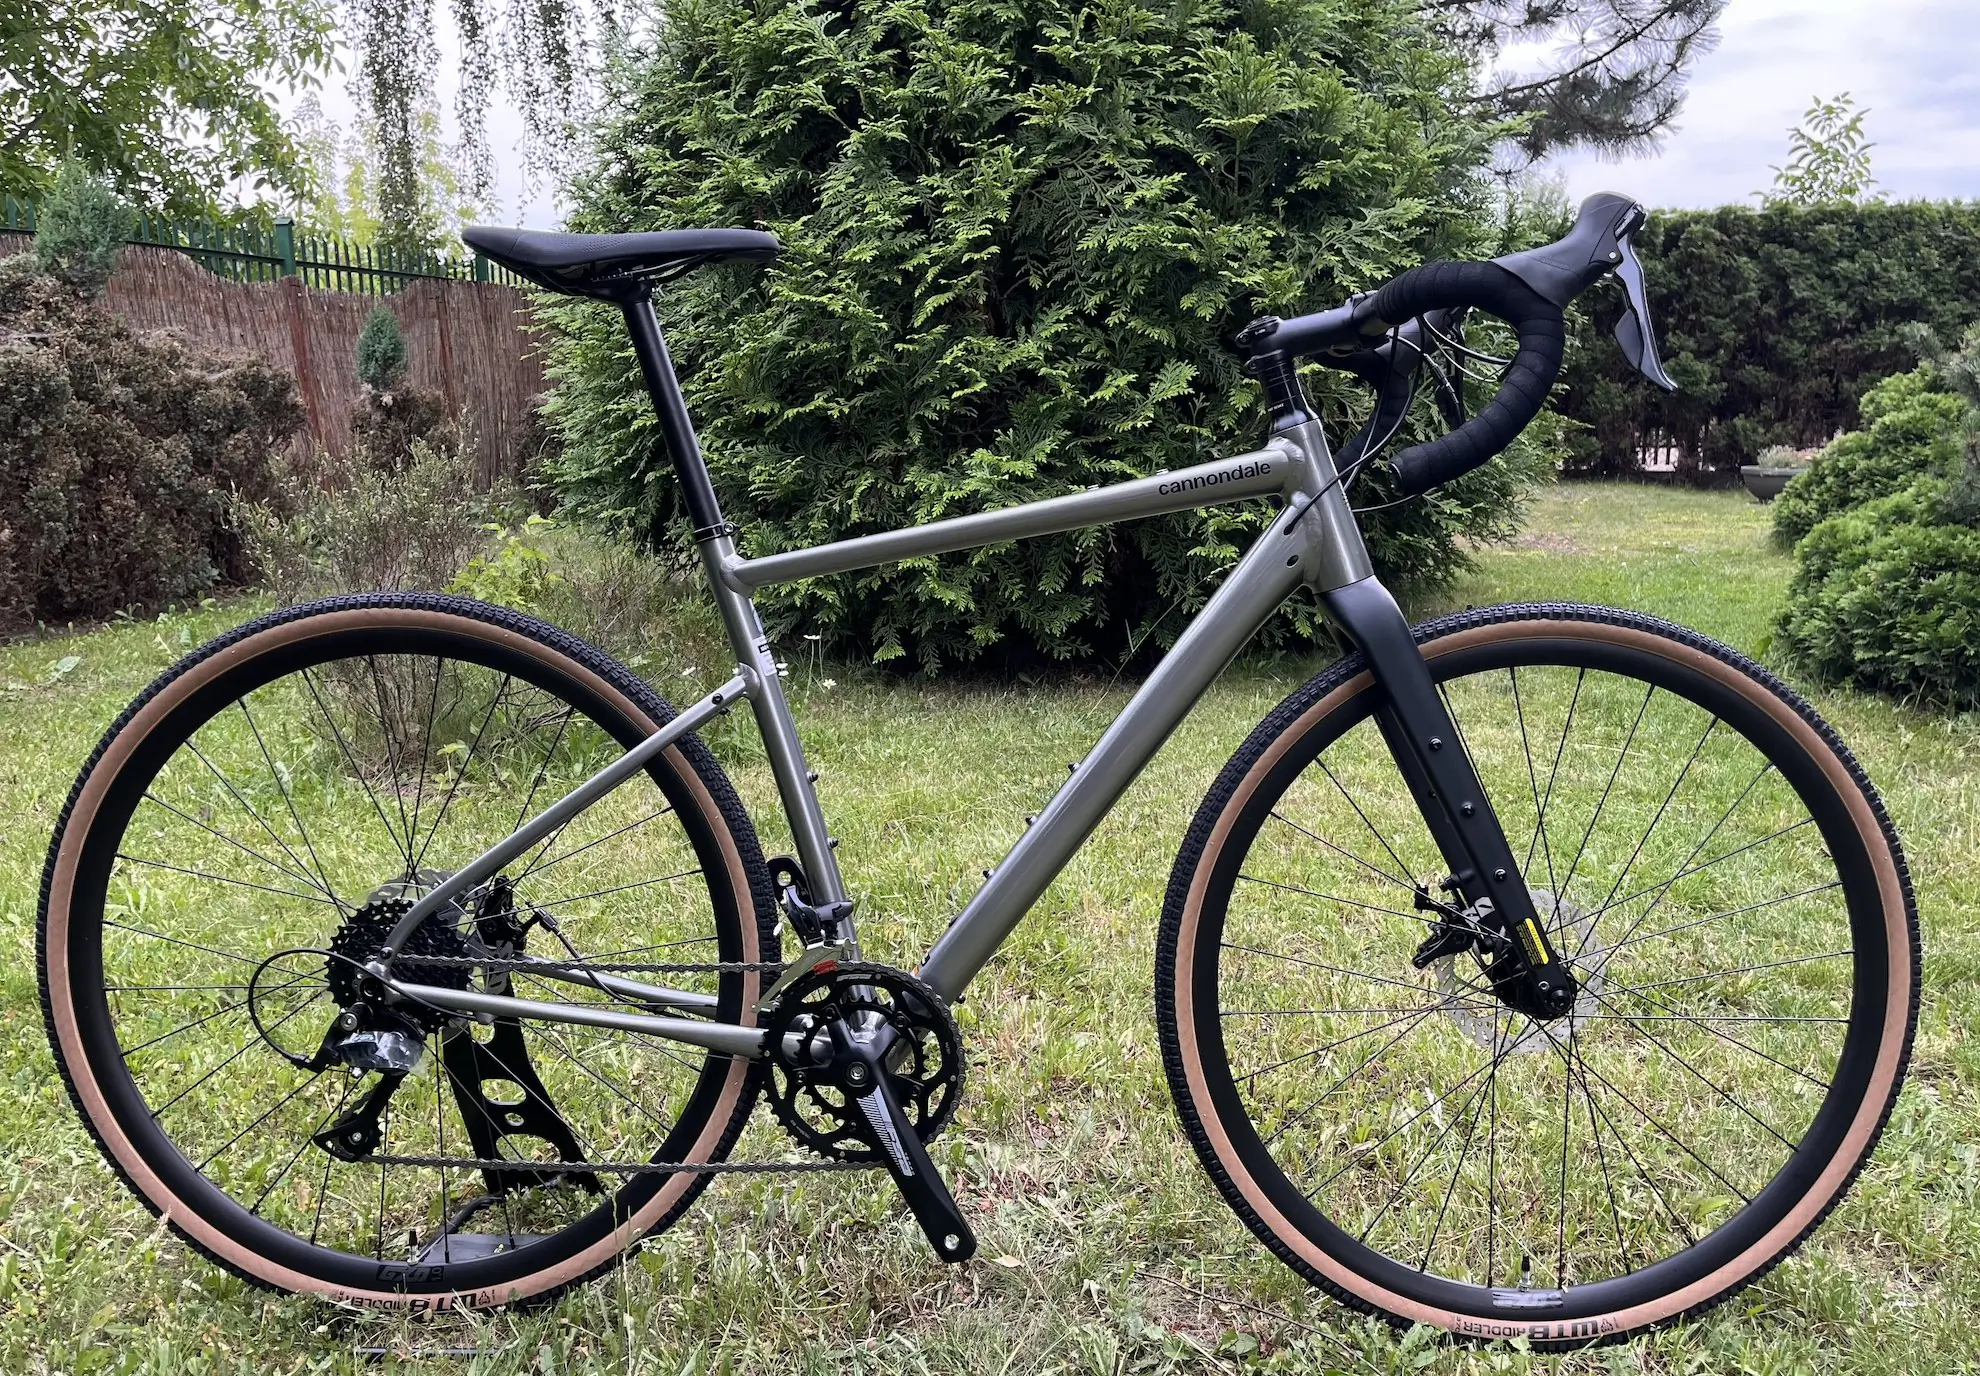
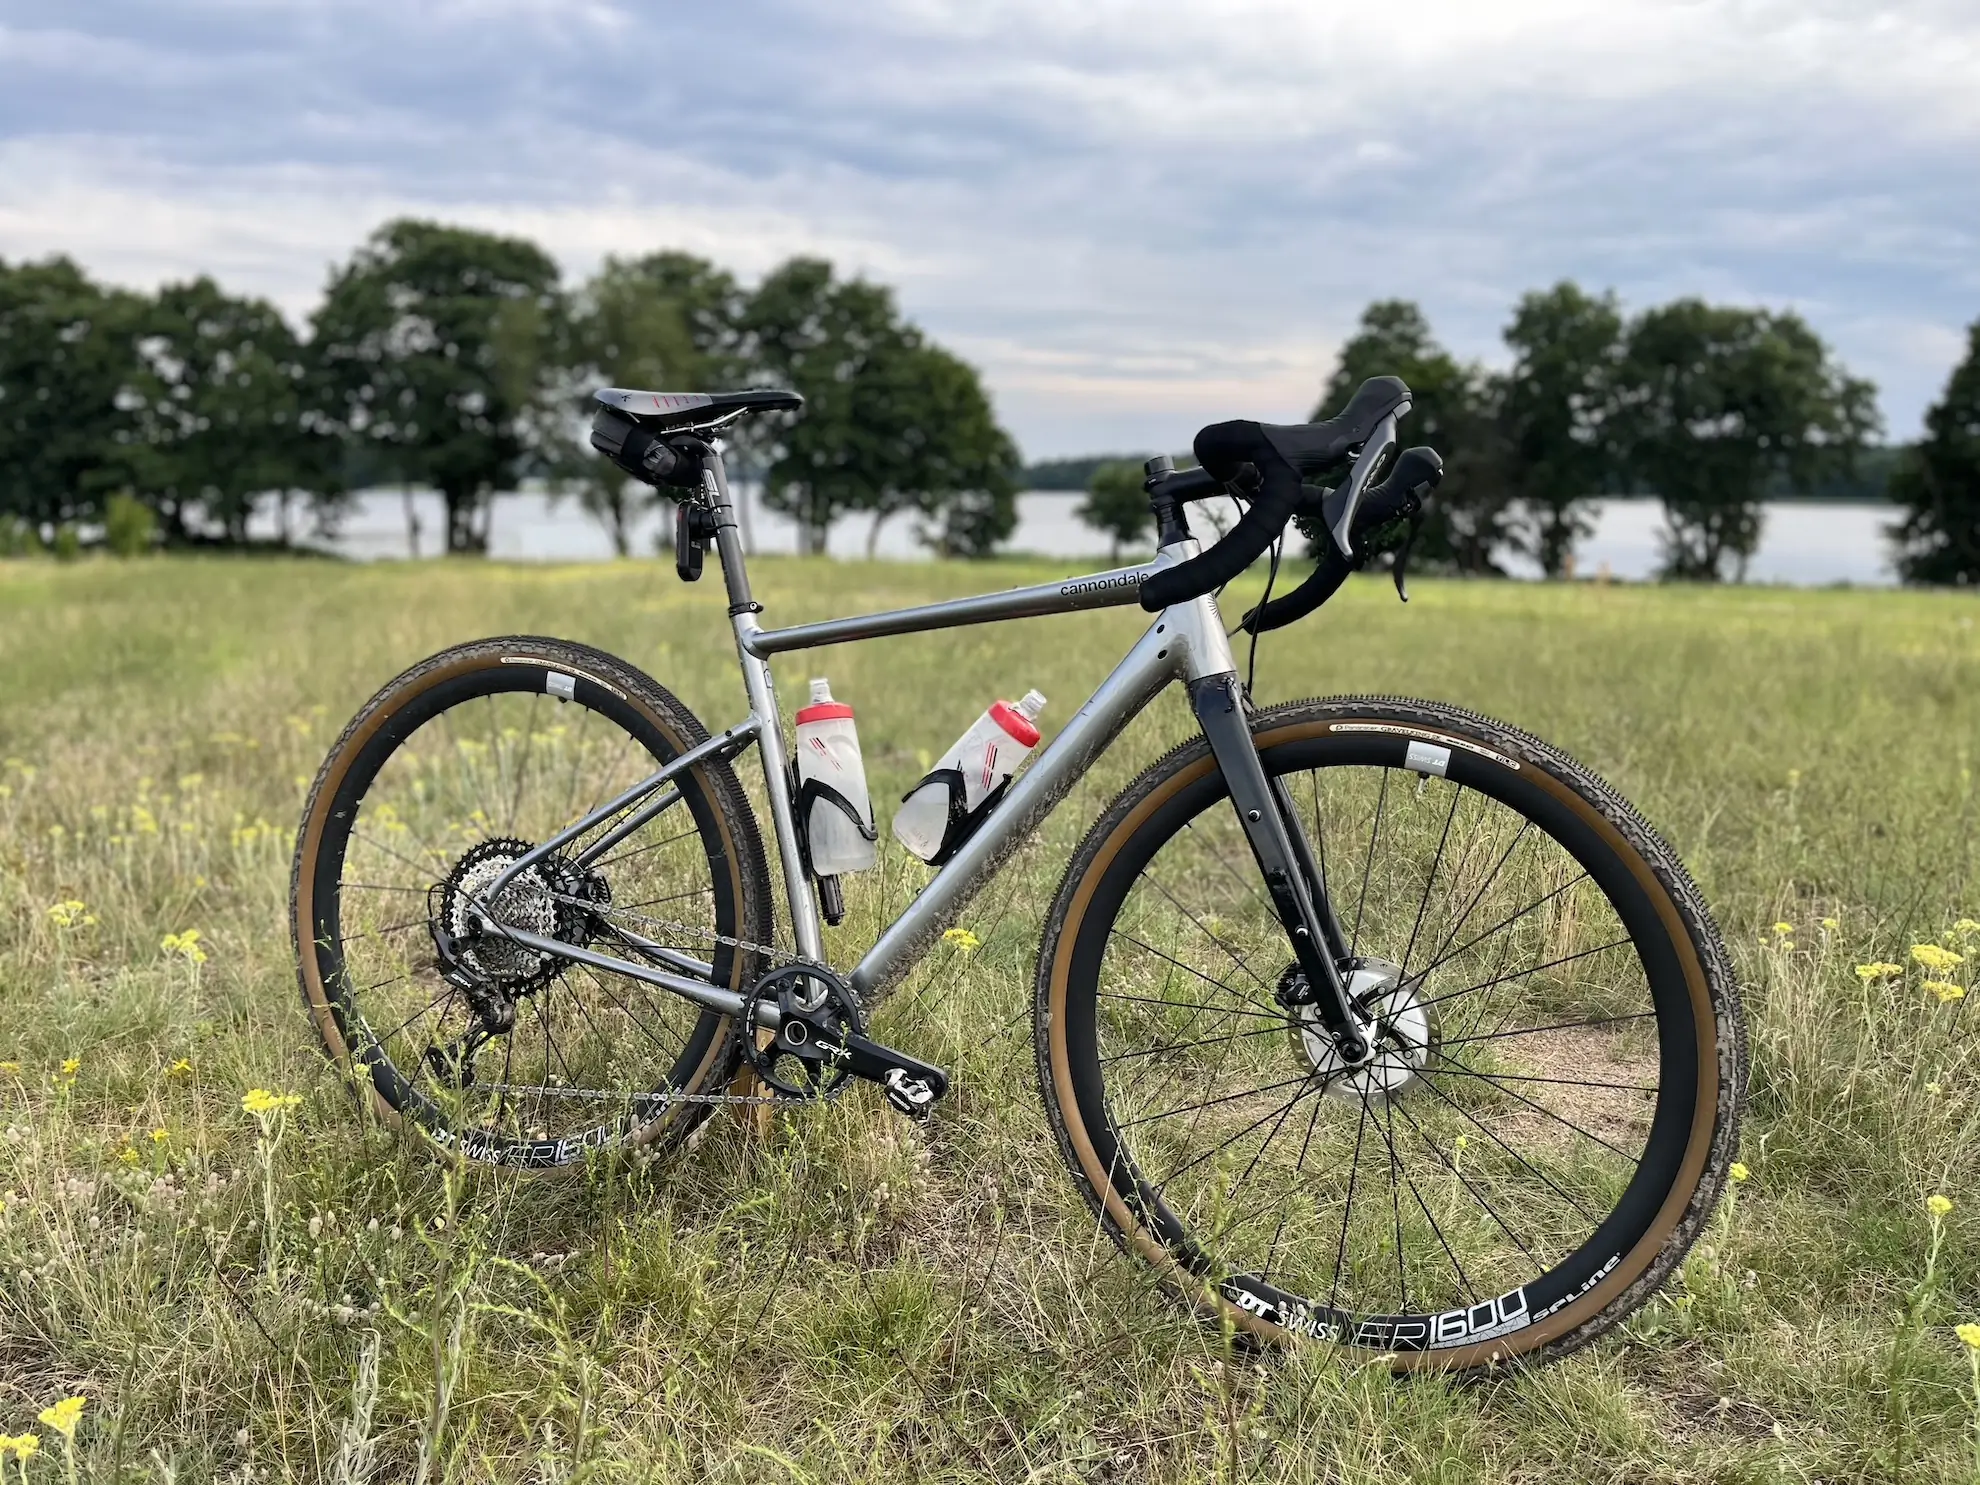
The final result
After meticulously selecting components, including a nearly complete Shimano GRX 820 groupset for its quality and performance, and assembling them in my workshop, the final result is a 9.9kg gravel bike that combines durability with the potential for further weight reduction and increased comfort through a carbon handlebar.
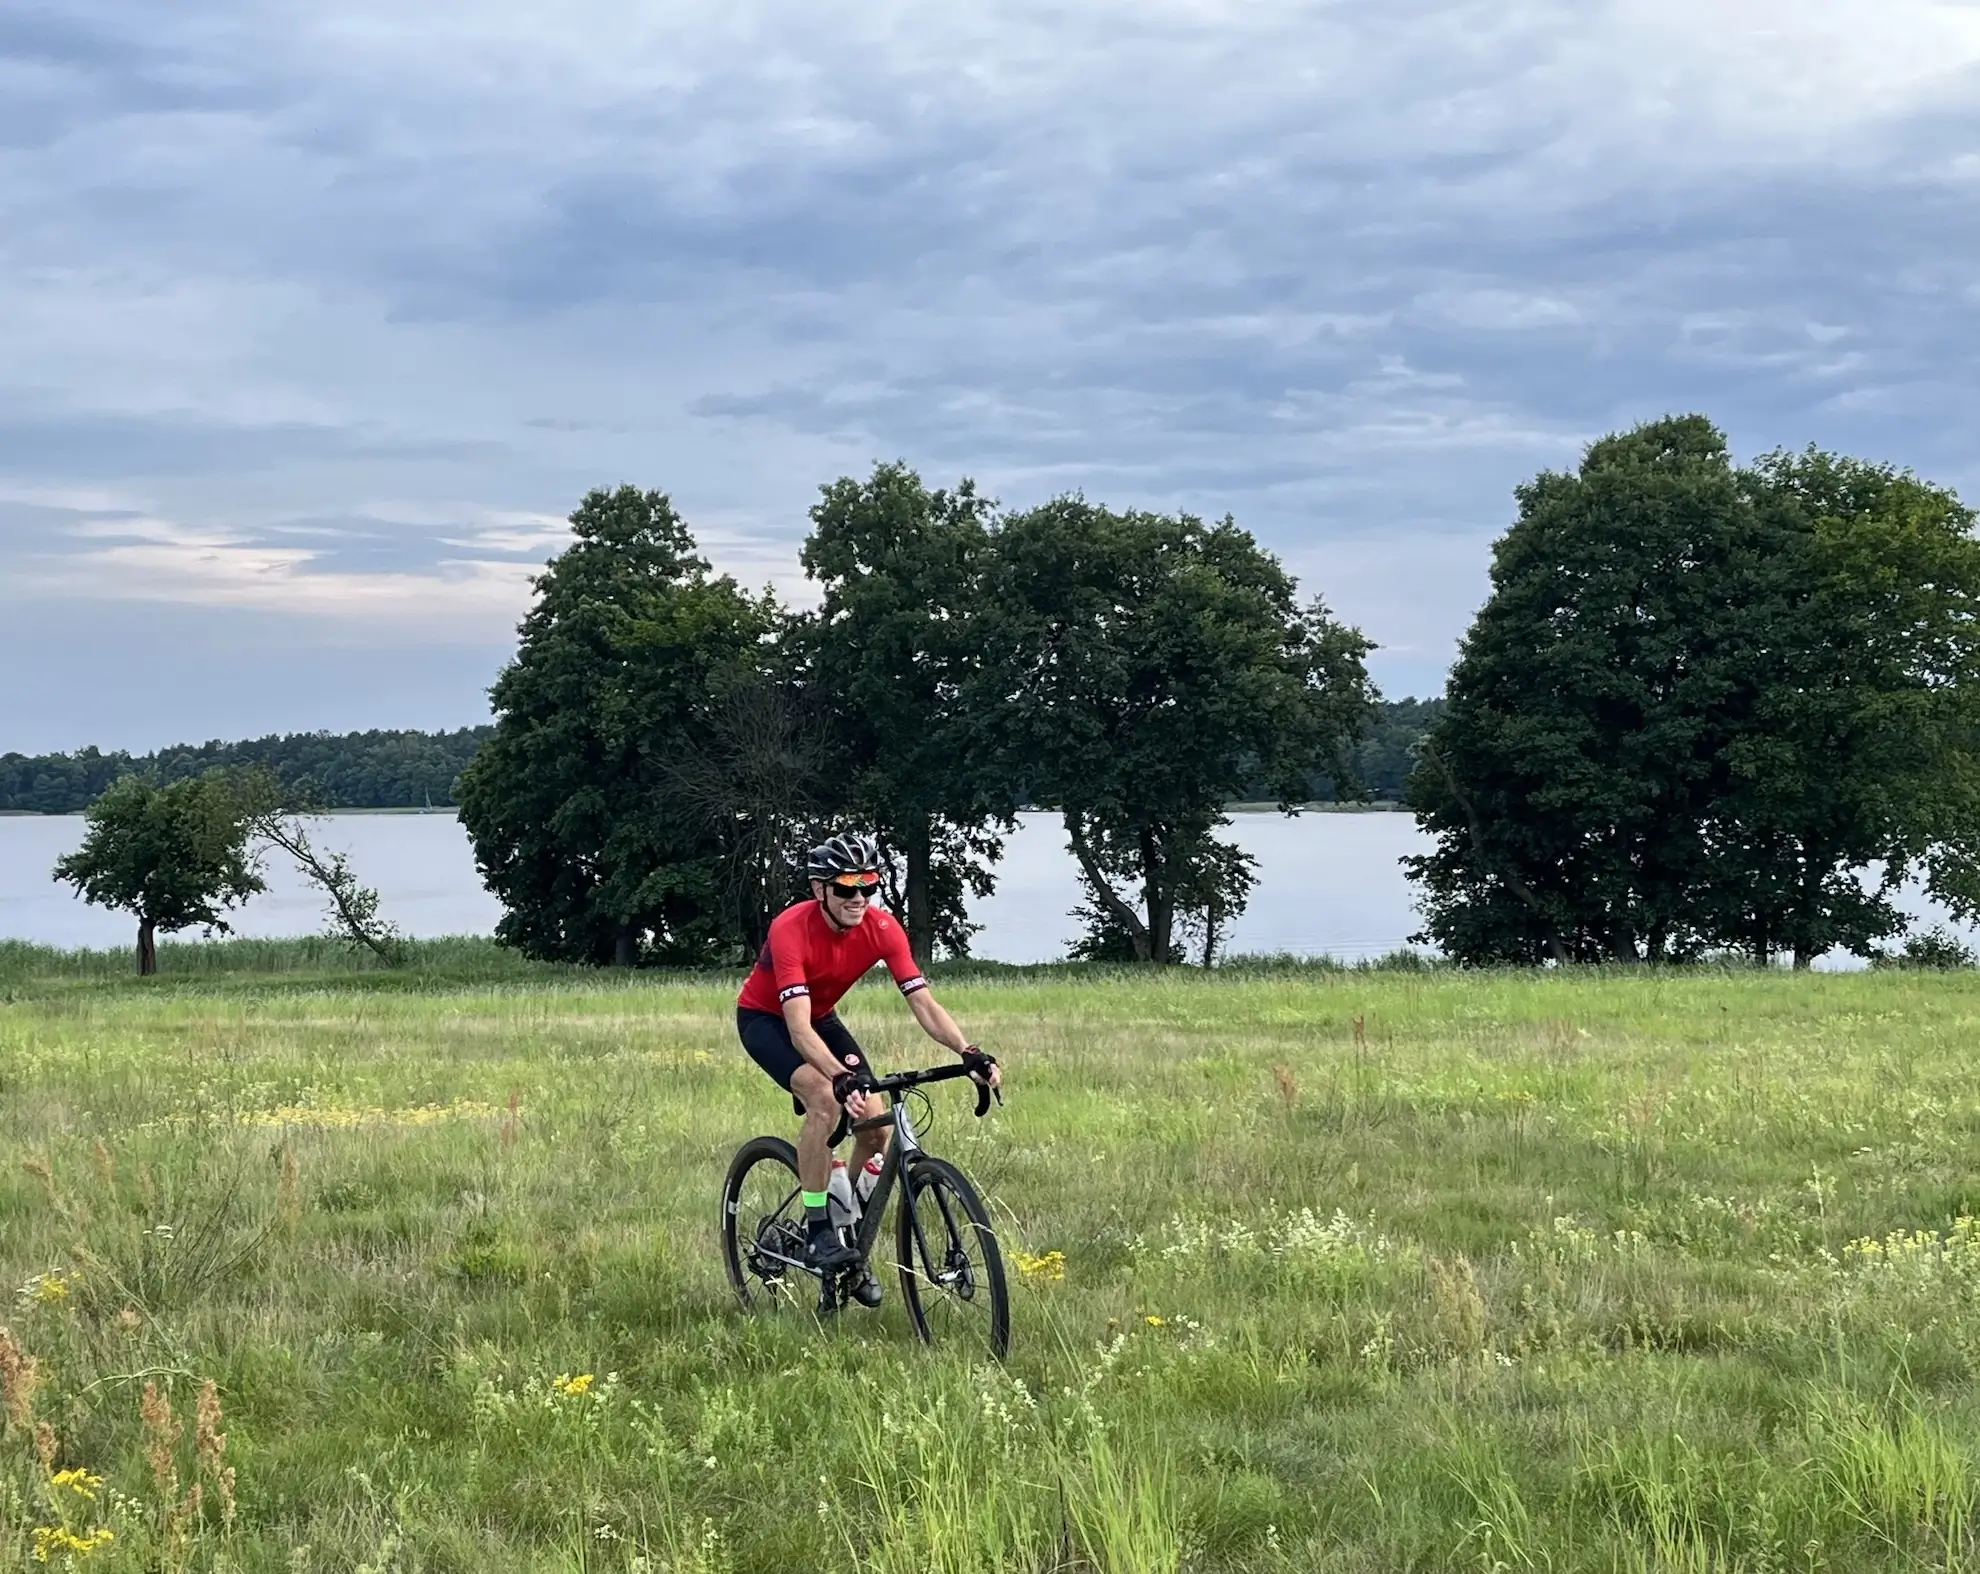
If you happen to spot someone riding a bike like that, don’t hesitate to give them a friendly high five. Chances are, it’ll be me enjoying the ride!
Comments